Was recently asked to explain the difference between
EDGE CREASERS
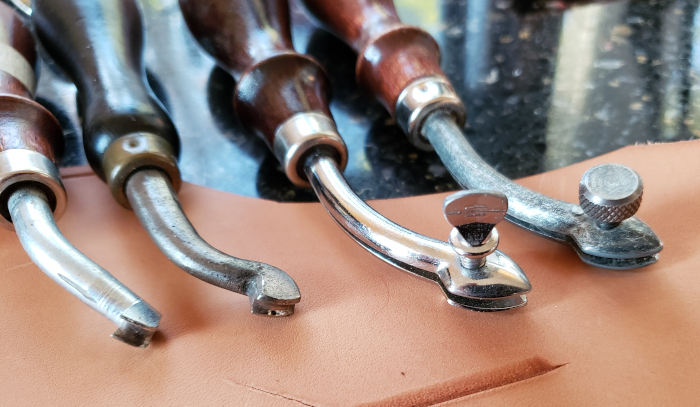
and
PUSH BEVELERS
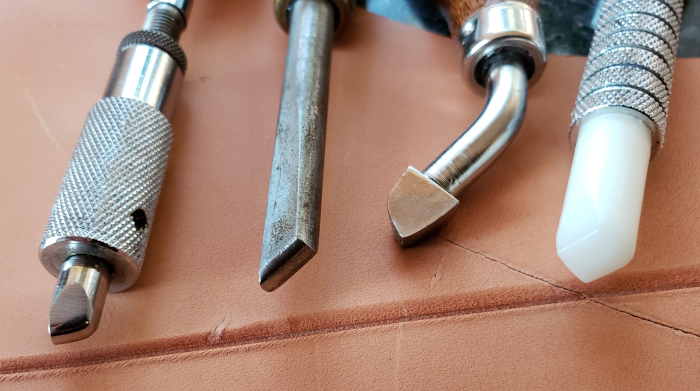
The video explains it best:

Spray or sponge apply water to the surface until the water do not sink in immediately.When the leather still has a dark color from the water, you can start doing swivel knife cuts. When the leather is almost at its natural dry color, you can do all the stamp tooling.You keep the leather at this moisture level with an occasional light spray or wipe with a damp sponge.
When I want to get up for dinner or any time less than 12 hours, I have a smooth plastic/acrylic sheet I cover the leather with, and when I come back, I just update the moisture content again.


Many leatherworkers use Vinagroon to get leather black or grey.
There is another option: getting the leather brown using Potassium Permanganate.
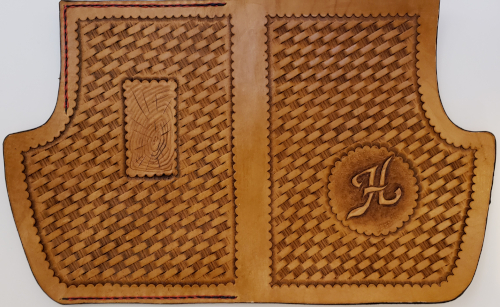
Here is a volume cover I only decorated with this method - I used a split, so the work was all done on the "flesh" side of the leather.

Keep in mind I made this cover in the eighties - no fading, because there is no pigment involved.
The back is just a flat colored silhouette.
Here is a short video showing it being
used:
* *



The above is my box of starter tools from 1978.
It is not for sale - you don't have enough money.
And it is NOT the starter set of tools I am going to recommend in this blog - you will have to read further down....
This post is going to be a continuous effort to advise new leather crafters. I will first discuss the very basics, and then go on to a second tier of tools that can be expanded to.
The tools that will work well for each person will vary a bit depending on the projects that you mostly engage in. I am going to focus on working with vegtan, or tooling, leather.
I see the surface of vegtan leather as very vulnerable, until you have it sealed or conditioned.
So I never bring pen or even pencil close to the leather surface (not even greasy hands). Therefor all the marking I do, is done with a scratch awl. The photo below shows a big red handled one I used until I acquired the small model, that is still available.
With the scratch awl you can easily trace around templates, poke holes where your pattern indicates holes to be punched and you do not have to be scared that ink will smear in places where it can ruin your project.
I seldom use the big red one any more and do most work with the smaller one.

There is a gazillion cutting instruments out there with a gazillion and ten opinions about what works best.
But let us focus on starting out. The breakoff blade knife at the top of the photo is the one I started off in 1978 - it is semi retired now and just used for the sake of sentiment. The second white one, also with the breakoff blade is new at Tandy. This is my absolute go-to knife for the following reasons:
There are other breakoff blade knives available - the one I bought at a hardware store however, had a too wide opening for the blade and so the blade would "flap" from side to side and make accurate cuts difficult.
The third knife in the picture is a recent gift from a good friend - it is a very old knife with a removable blade. The blade has the same shape as the other two, which makes it easy to cut with and I almost have it honed to the point where it cuts soundlessly, and as if it is going through soft butter! It will have to be stropped regularly to stay a joy to cut with.


I don't want to say too much about how to use the tools - that is probably a few separate posts - just what they are for. The compass has two fairly sharp metal tips and is used for drawing lines parallel to edges. This has various purposes.
On the photo and edge beveler at the bottom - used to round off the square 90 degree corners where leather was cut.

The other two tools - slickers - are then used to smooth the edges of the leather. The plastic circle has been around for a very long time, but the multi sized wooden one is the only one you need to start with.
Edge burnishing is quite a science / religion with many leatherworkers, often with impressive results, but if you master the basics first, you will continue to get good results.
Many projects require holes - for rivets, snaps and other hardware attachments.
To start I propose a set like the one shown here - a handle into which your screw the tip you desire, depending on the hole size.
The advantage of this set over a revolving head hole punch is that with this you are not limited to a throat depth (with the pliers-like tool you can only punch holes about inch and a half from the edge or less).
It is also cheaper, because if you do want to get a revolving head hole punch, you need to buy the top end solid steel handle punch - the lower end models will only last if you do ten very careful holes a year....; the frames of those tend to bend easily.
Also note the accompanying plastic cutting board to use underneath the leather when you punch holes through. To do this on wood would dull your punches very fast.

And I think that concludes this post! I will start a new one looking into the starter tools for tooling and a different one for starting with lacing and stitching.
I hope this helps!
[Originally published August 2008]
This is probably the aspect of leathercraft where there are as many opinions as there are crafters, and most of them will swear by their own methods as gospel truth.
So, I want to give you my opinion as well, but with the hope that it will clarify some of the confusion that exist around dyes, stains, finishes, dressings, conditioners and oils.
This whole discussion will center around vegetable-tan (treebark tanned) leather. This is the only leather to be treated with the products I will discuss.
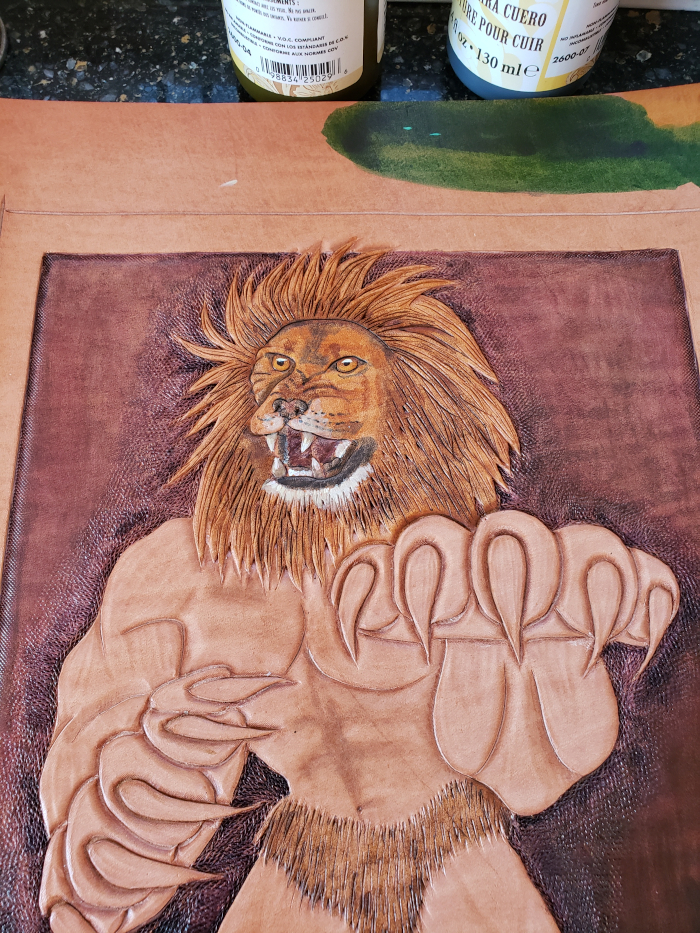
Putting a dressing on leather will bring out the color of the dyes (make it glow), "waterproof" the leather (your best defense against stains) and make the leather softer (if you have not treated it for the making of armor).
X1 was a top sealer/dressing sold by Tandy a few years ago - it was a follow up of Darke's dressing.
It had the advantage of doing a very subtle "antiquing" effect on tooling.
GOOD NEWS: Realeather now sells it as One Step Leather Dressing! We do not have to be without it any more.
On this piece I first dyed the darker patches with water-based dye; then applied the One Step dressing on the whole piece:

You can see how it only enhances the burnishing that happened during tooling (look at the border stamping).
I recently experimented with a mixture (50/50) of X1 (that I still had left from before - I bought a whole box full when it was discontinued) and Eco-Flo Hi-Lite Stain.
Before:

This video shows the effect it has and how easy it is to apply:


