Showing posts with label Embossing. Show all posts

Wednesday, May 12, 2010

Embossing a Bird


Here are the first photographs of my latest embossing project: embossing a grey African Hornbil. 

The original photo was taken by a school friend of mine, Stephan de Lange.

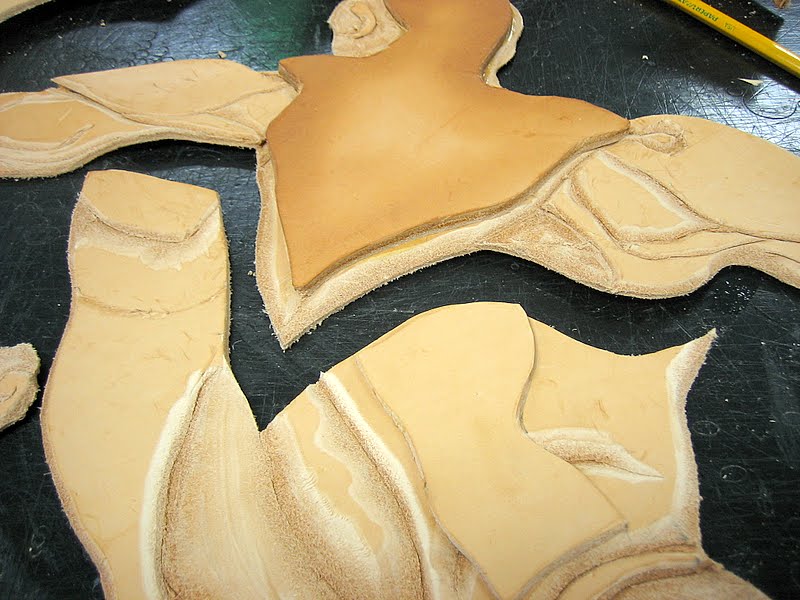
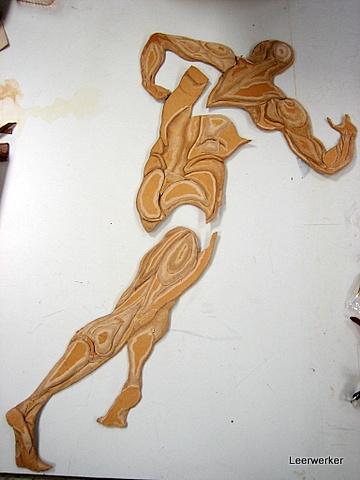
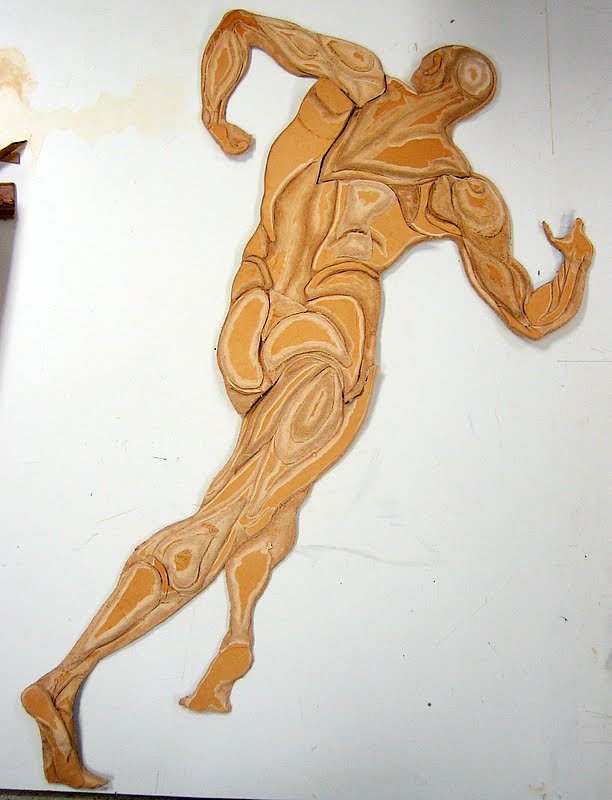
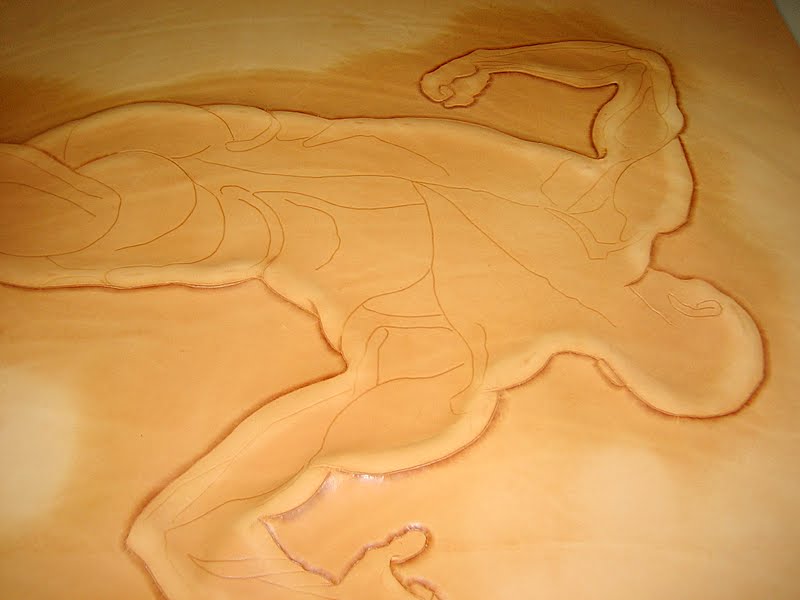
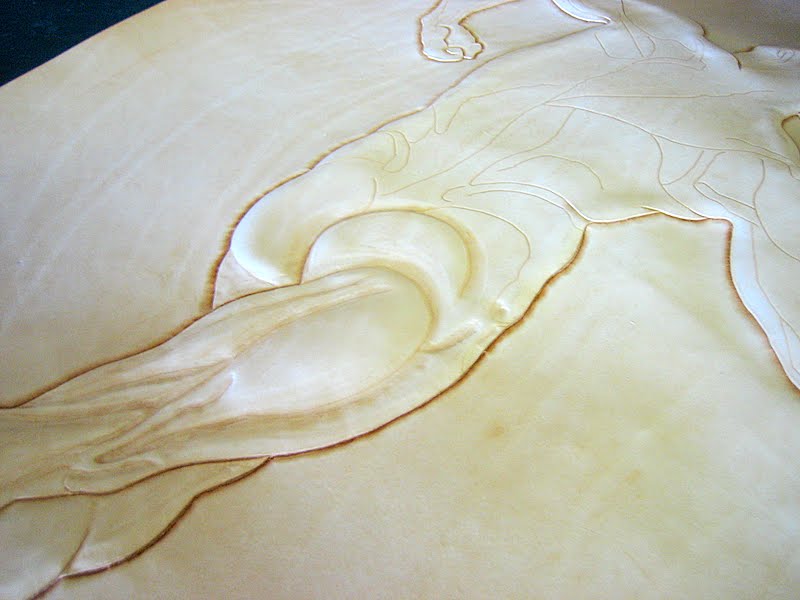
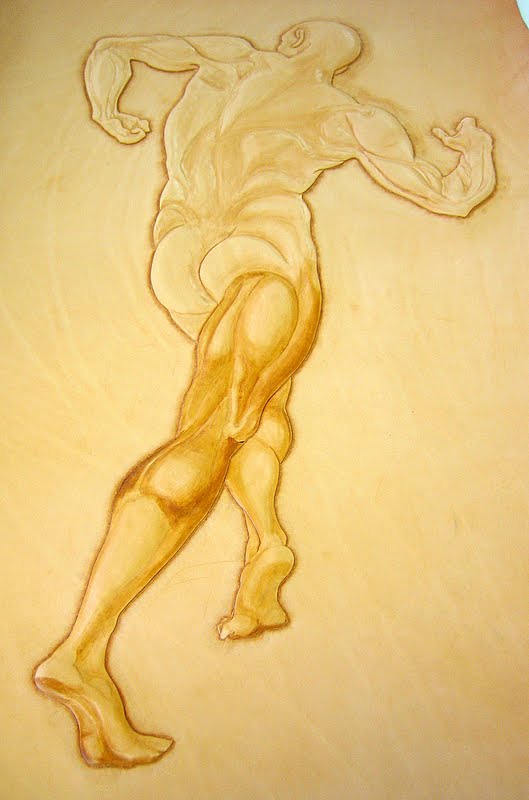
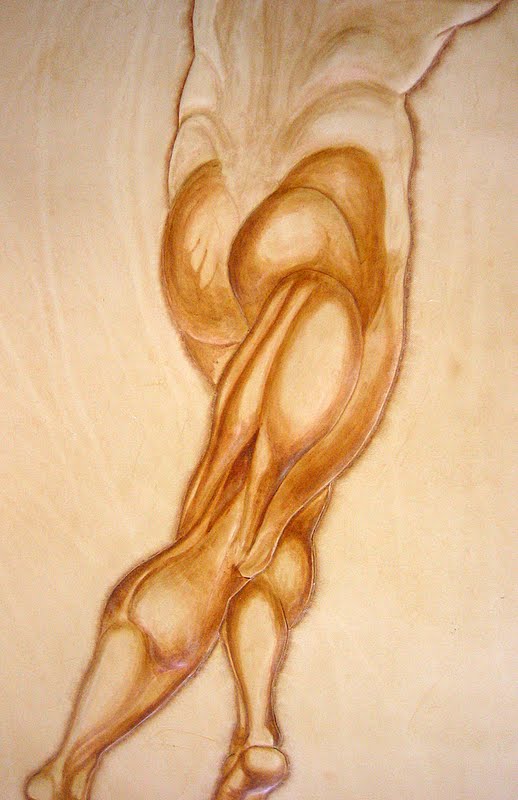
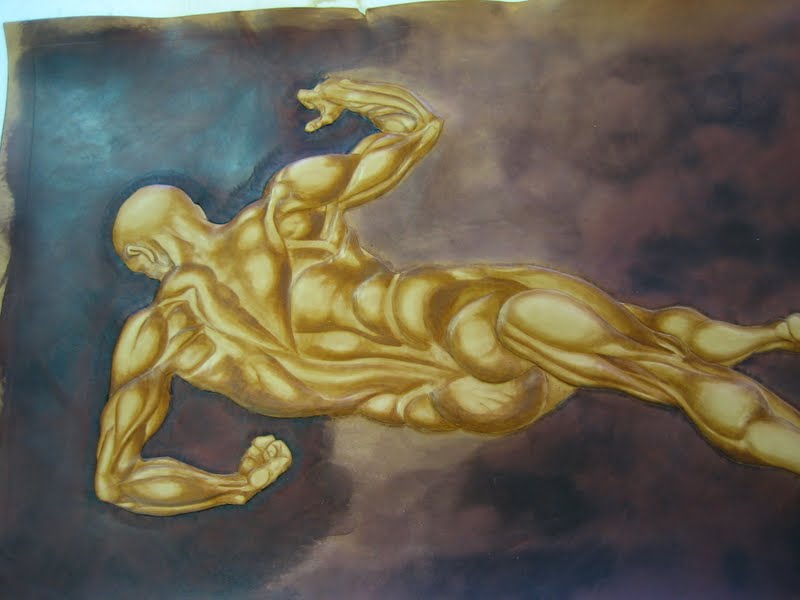
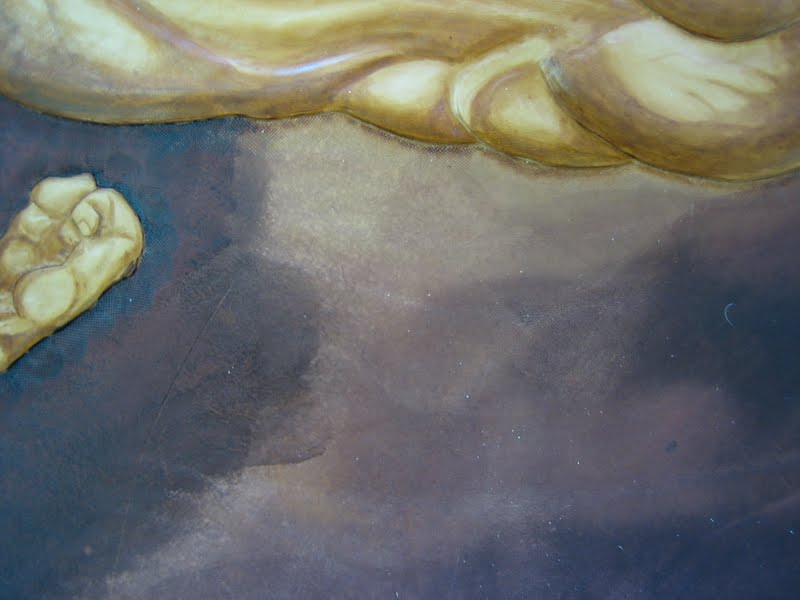
 The first two photos show the design transferred to the leather, cut with a swivel knife and all the key lines beveled. The purpose of this is to be able to see the design outline on the back of the leather. So the leather needs to be well cased - the water has to penetrate right through the thickness of the leather.

 The leather used is a 4oz  Tooling Cowhide - beautiful soft stuff that 'almost carves itself'! The Design First Bevelling 

 The beveling shows on the flesh side of the leather. On the Back 

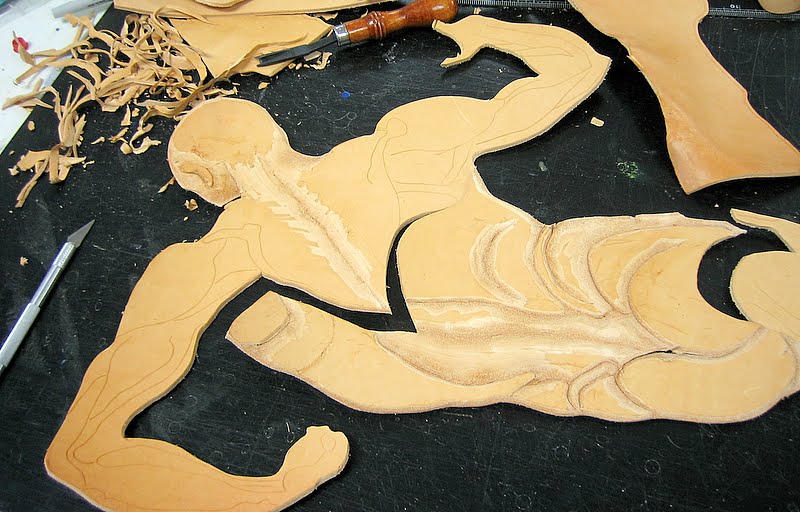
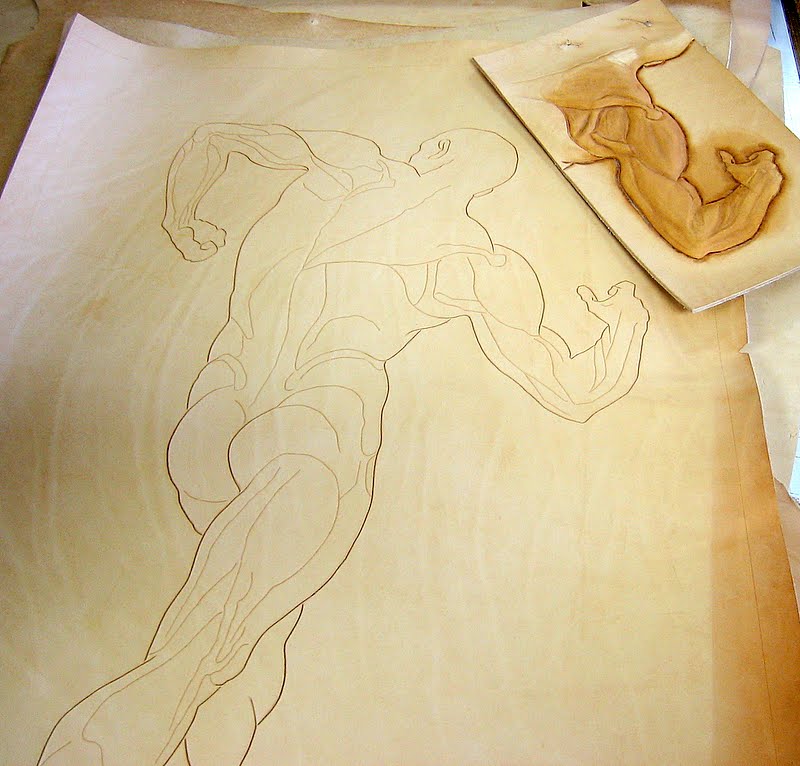
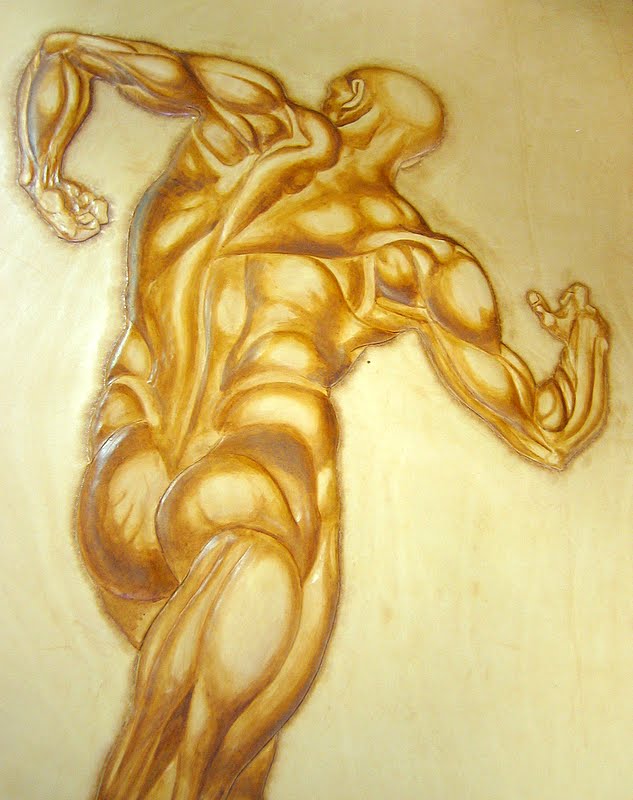
 I trace the plug on a thicker leather and make sure I trace all the important lines of the design so that I have guides to help me sculpt the plug. 

After tracing, I cut the plug out smaller than the original design. I reduce the size of the design for the plug by the thickness of the leather that will be over the plug - that piece that I beveled the original design on.

Plug Cut Out Smaller by Thickness 

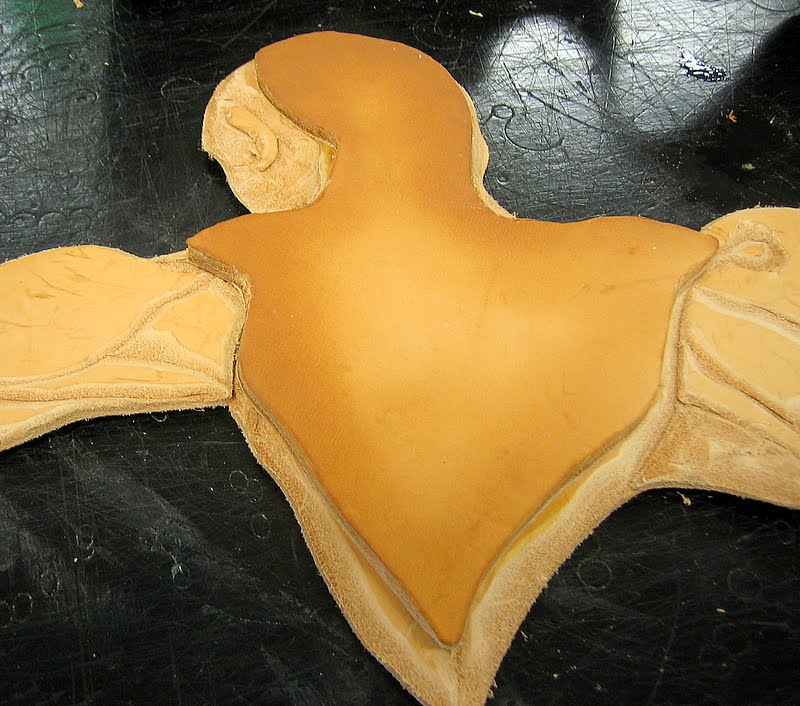
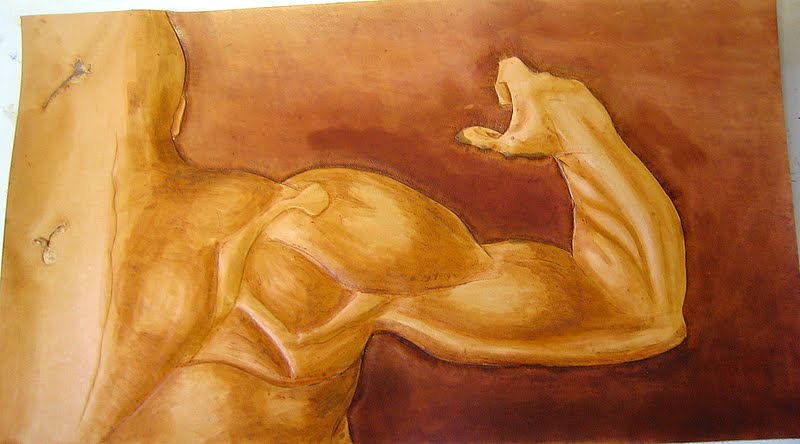
 A French Edge Beveler and a scalpel blade are now used to shape the plug - this is done like a panel sculpture and you need to take care to so it with as much perfection as you want to show in the final carving. 
Even the slightest bumps show through to the surface. The sharpness of these tools are absolutely crucial to the success of this step. Sculpting  

You will see that I did not include the tail of the bird in the plug - according to the photo the tail is in the background and so I want that to be clearly 'in the background'. Plug Ready  

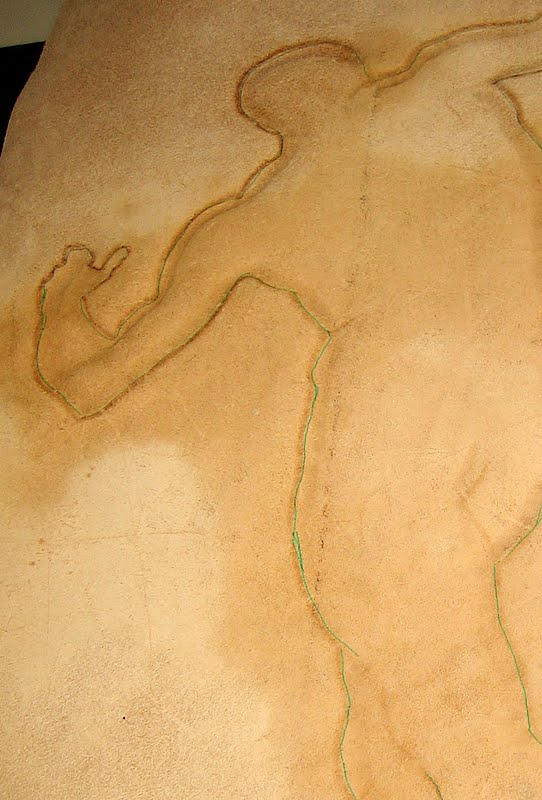
Now the outline on the back of the tooling piece is covered in rubber cement and the plug turned front side down to be glued in place. Carefully place it in the outlines you see at the back. I use rubber cement so that at this point the gluing is not very permanent and you can still move it. 

 An optional step before this, is to stretch the inside of the design a bit by rolling the leather over a small marble rolling on a flat surface. Glued on Back 

 The rest to follow soon!

Thursday, December 4, 2008

Plug Embossing

Made this project in August of 2008.


This project shows some steps in embossing by shaping plugs over which the outer layer of leather will be formed.


One of the first steps is putting a second layer of leather on the plug. I lay the tracing film over the bottom plug layer and trace the outline - i.e. the size I want to cut the leather for the second layer. I also trace the lines that indicate the "valleys" between muscles, so that I can cut those into the plug. 

The plug very much simulates the actual final carving as far as detail is concerned.

  The next step is cutting out the plug:
 ...and then you glue the piece of leather onto the rest ...
 Let's swap to the other arm where the glue has dried and here we start the sculpting proper:


To see a gallery of photographs of the steps to complete this project, have a look at this blog POST.


Feel free to leave a comment ....

Wednesday, December 3, 2008

Plug Embossing 2

 Here is a gallery of the steps to complete the project started in this blog POST.

Extra pieces are placed on top of the first plug layer where I want it raised a bit more:


The three separate plug pieces are done, and ready to be glued on the back of the main piece of  leather:


The back of the leather after the first round of beveling. It leaves a mark on the back that will help positioning the plug piece:


Starting to add color - first to the test piece:


My brown bckground made the guy's body look too yellow.  So an artist suggested I add some red to the brown, and so I use a mahogany antique gel to get the background just perfect:


The person who framed the project for me, also insisted on framing the test piece, so that it could always accompany the big picture: