Thursday, December 4, 2008

Plug Embossing

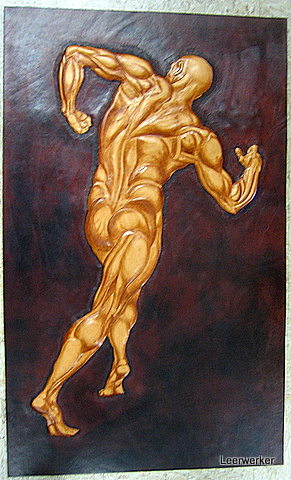
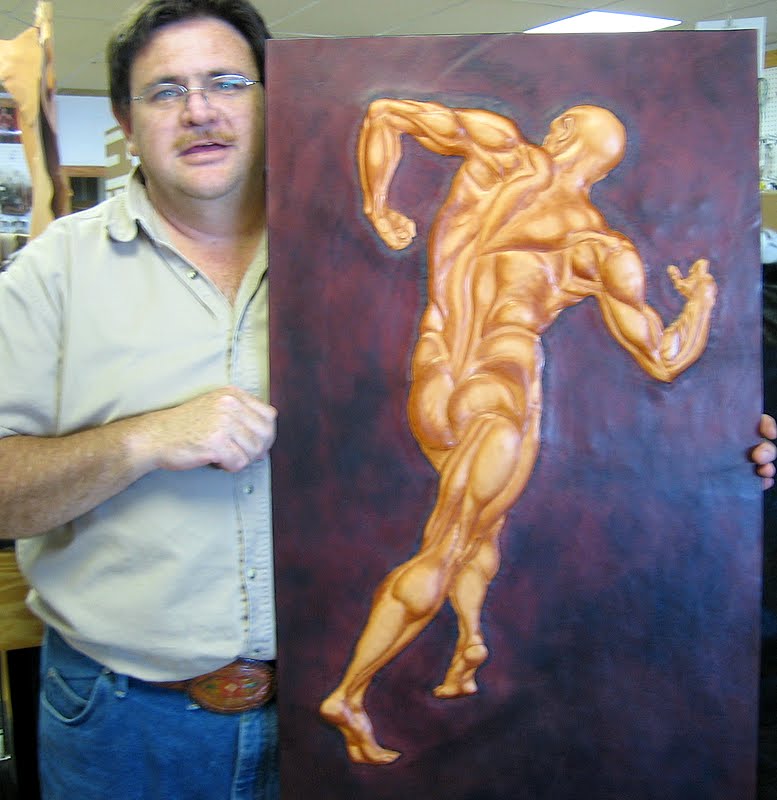
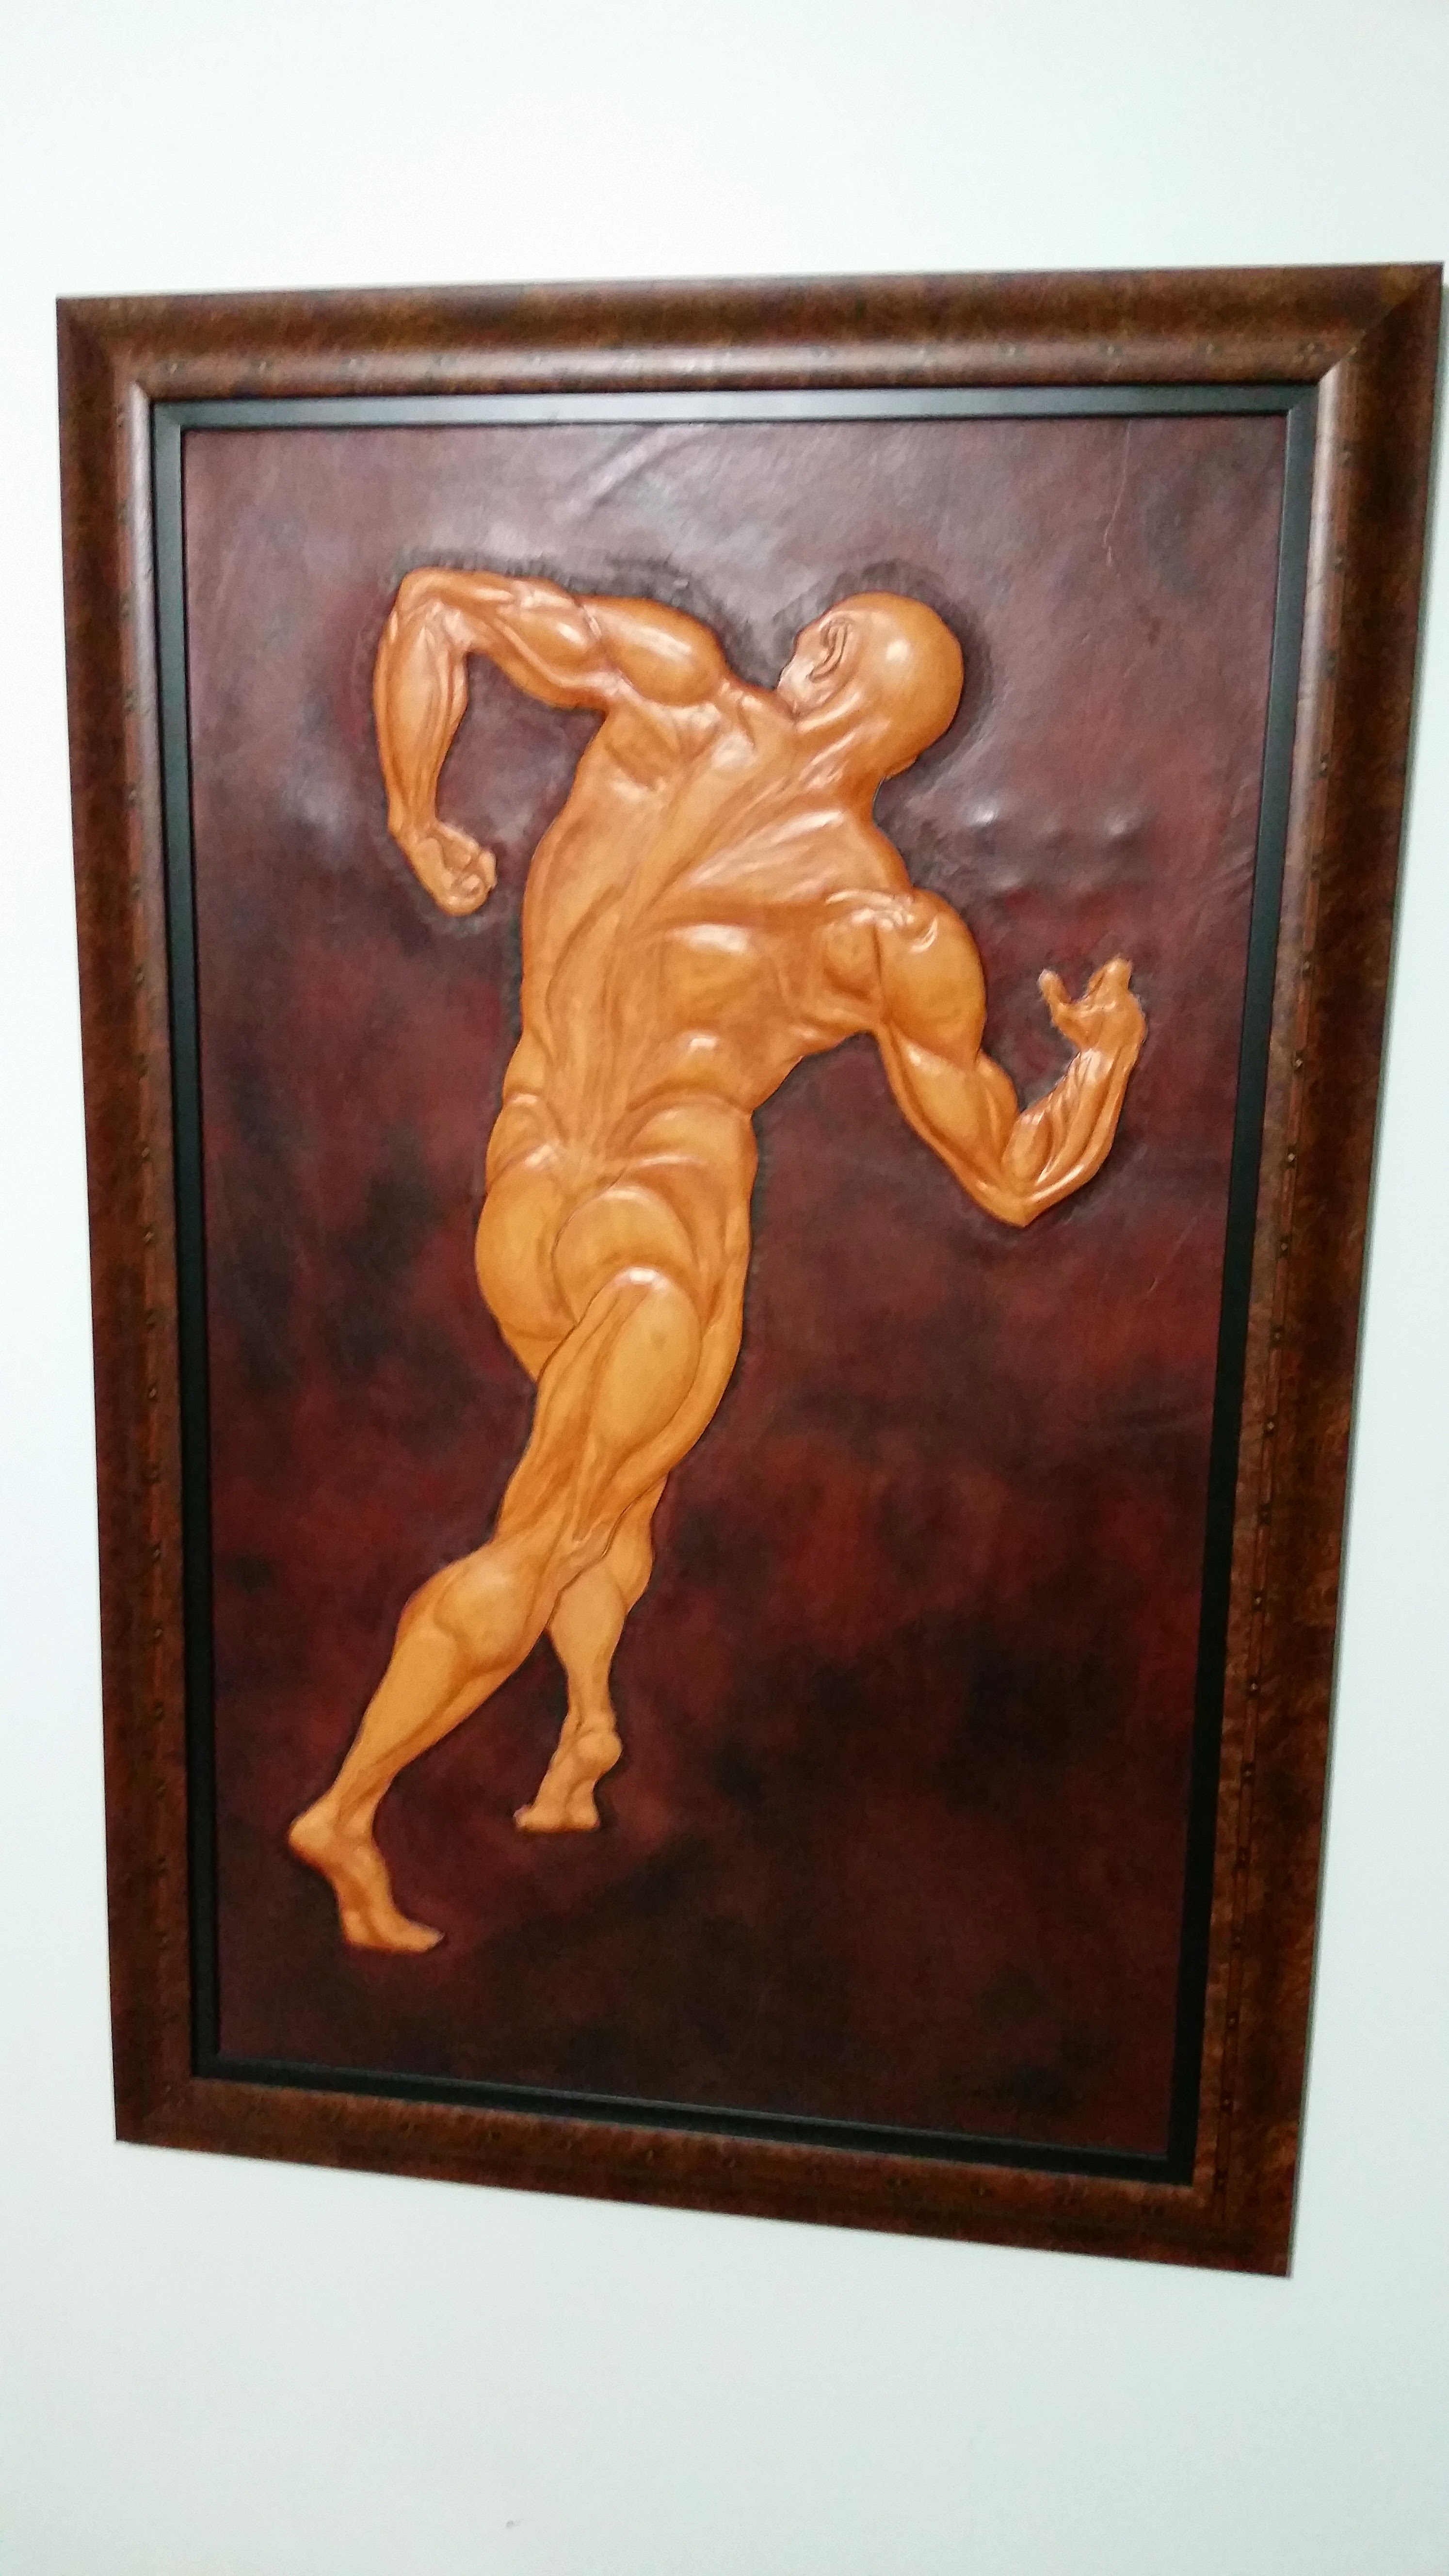
Made this project in August of 2008.


This project shows some steps in embossing by shaping plugs over which the outer layer of leather will be formed.


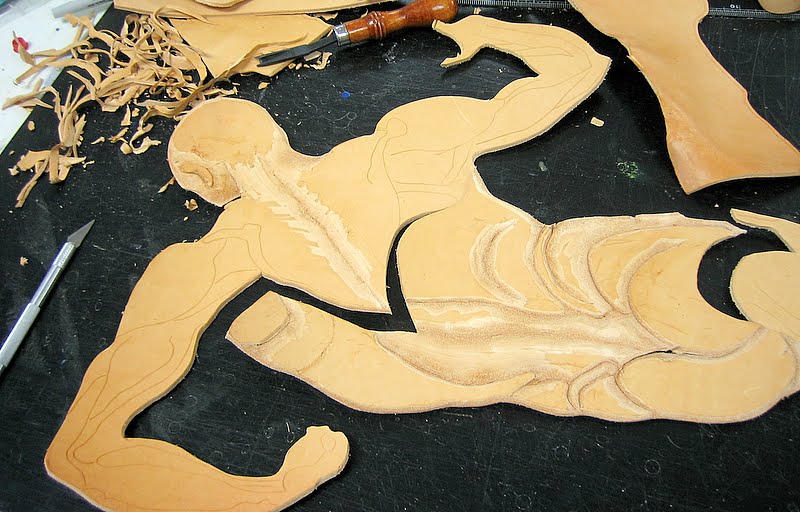
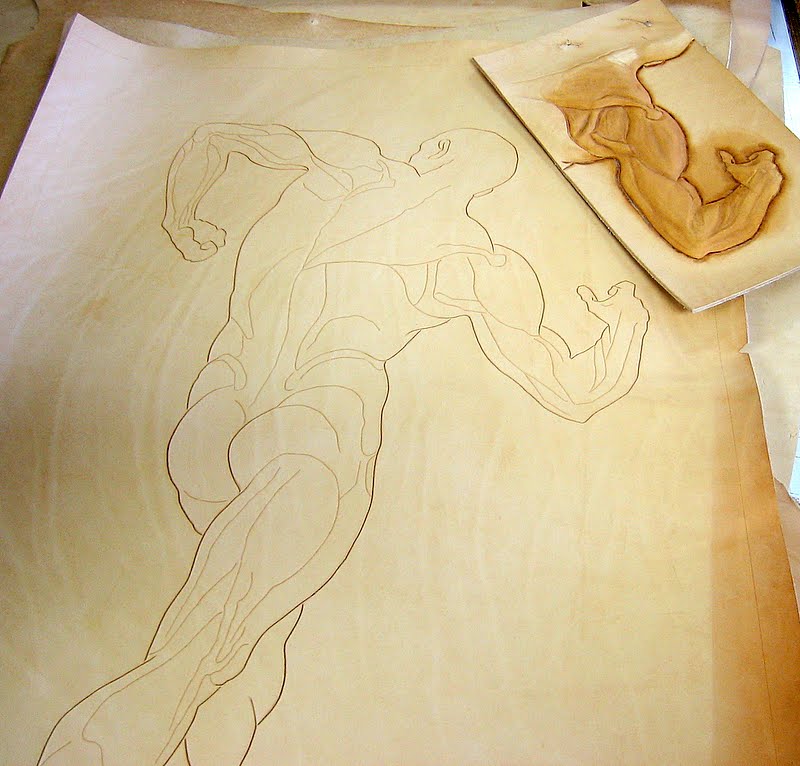
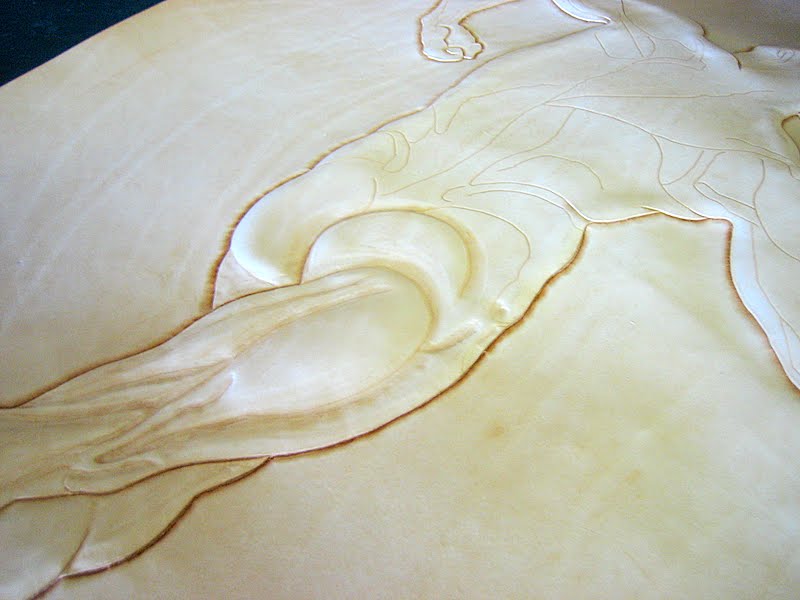
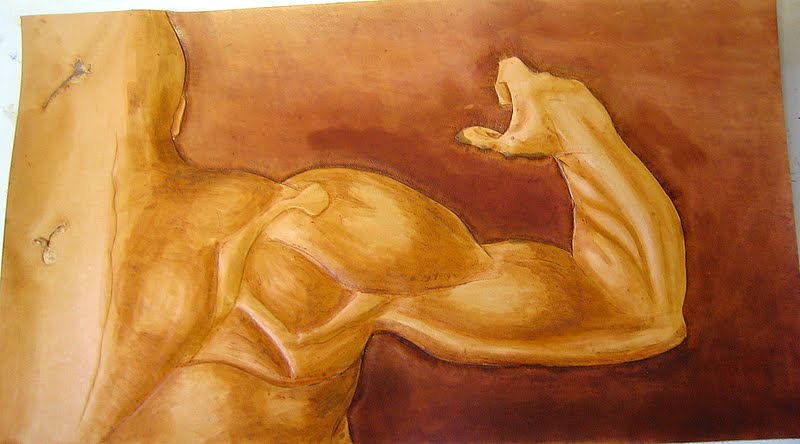
One of the first steps is putting a second layer of leather on the plug. I lay the tracing film over the bottom plug layer and trace the outline - i.e. the size I want to cut the leather for the second layer. I also trace the lines that indicate the "valleys" between muscles, so that I can cut those into the plug. 

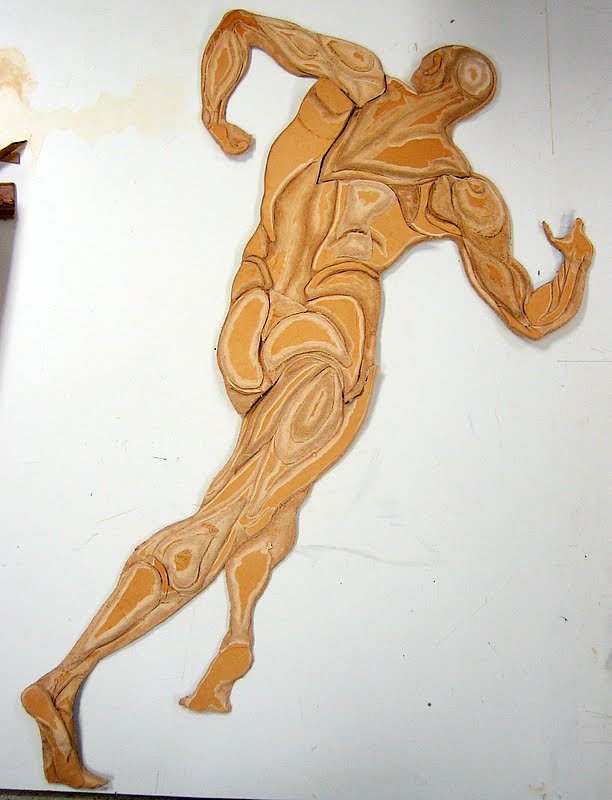
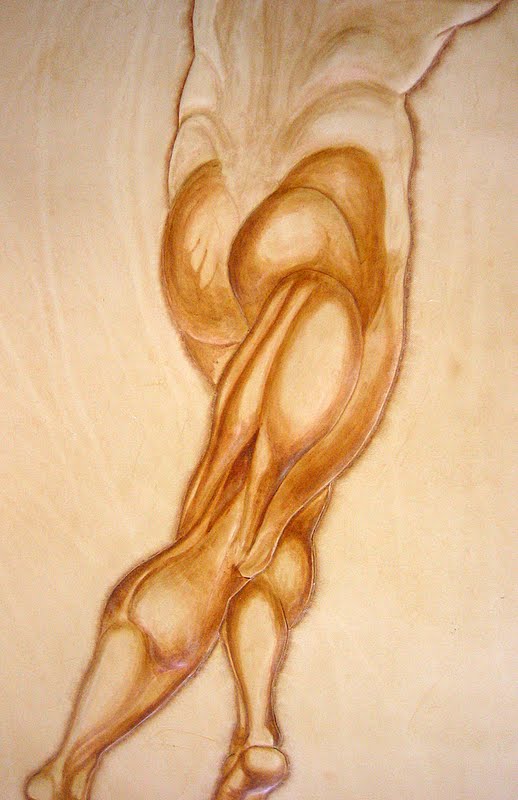
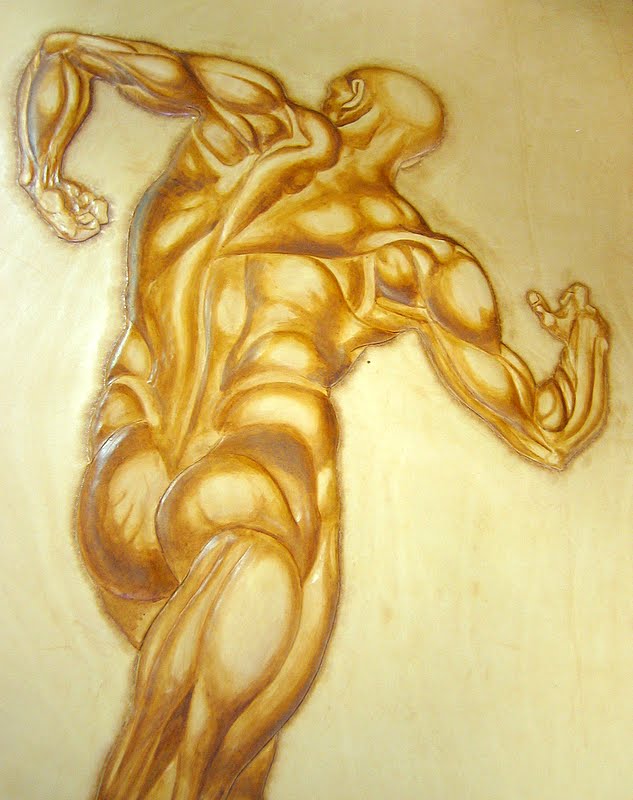
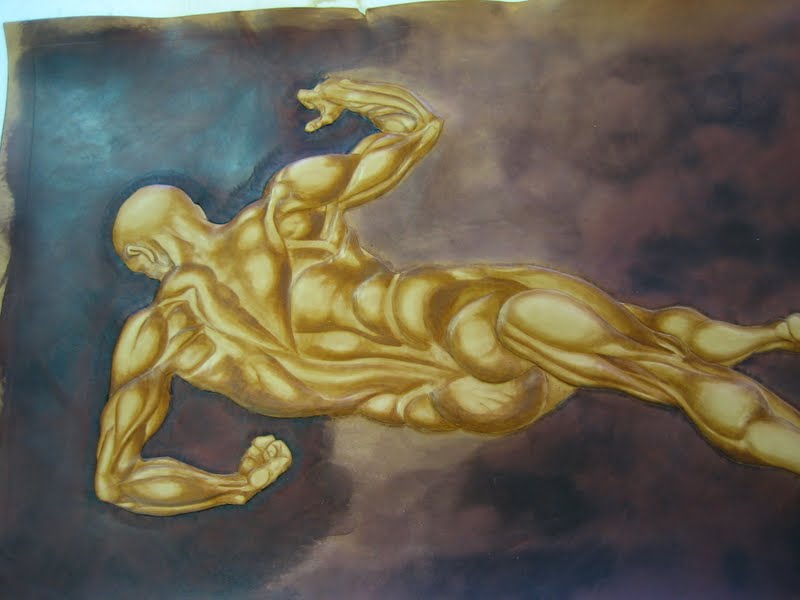
The plug very much simulates the actual final carving as far as detail is concerned.

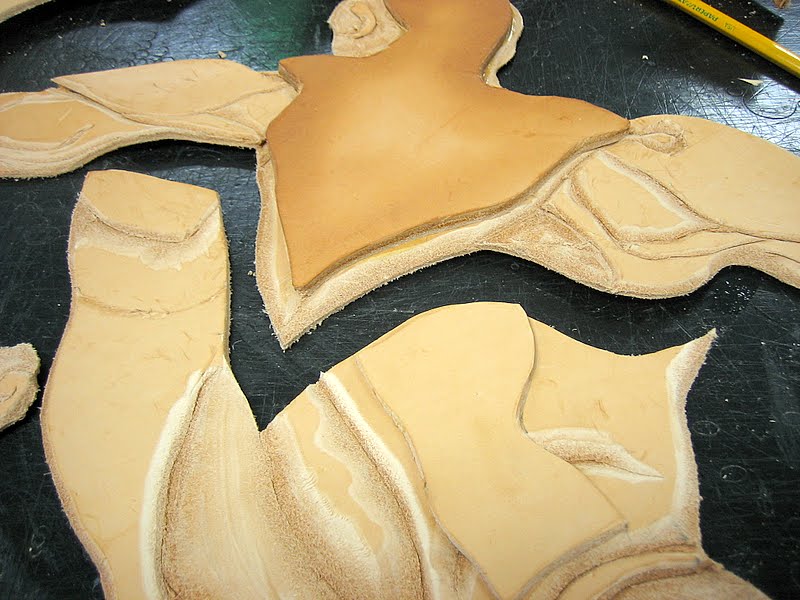
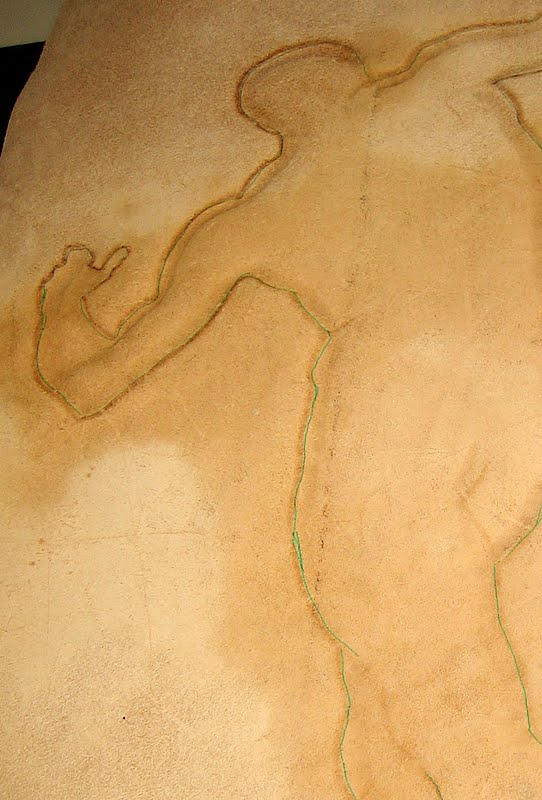
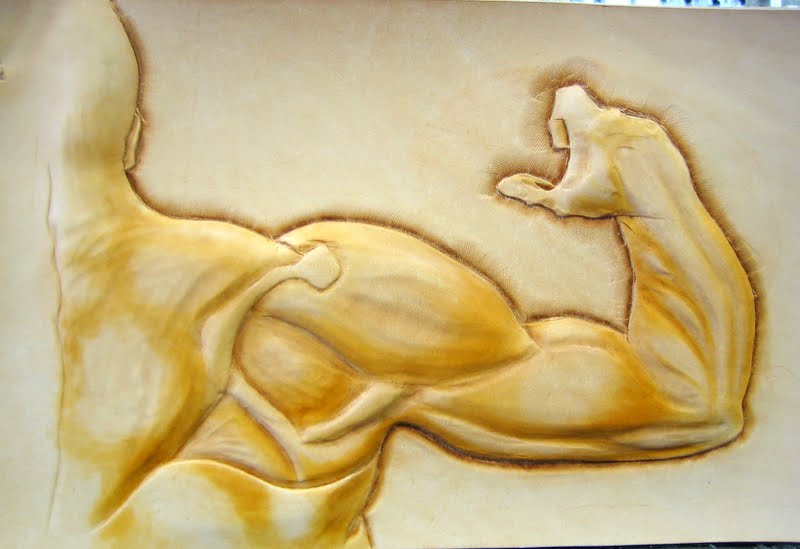
  The next step is cutting out the plug:
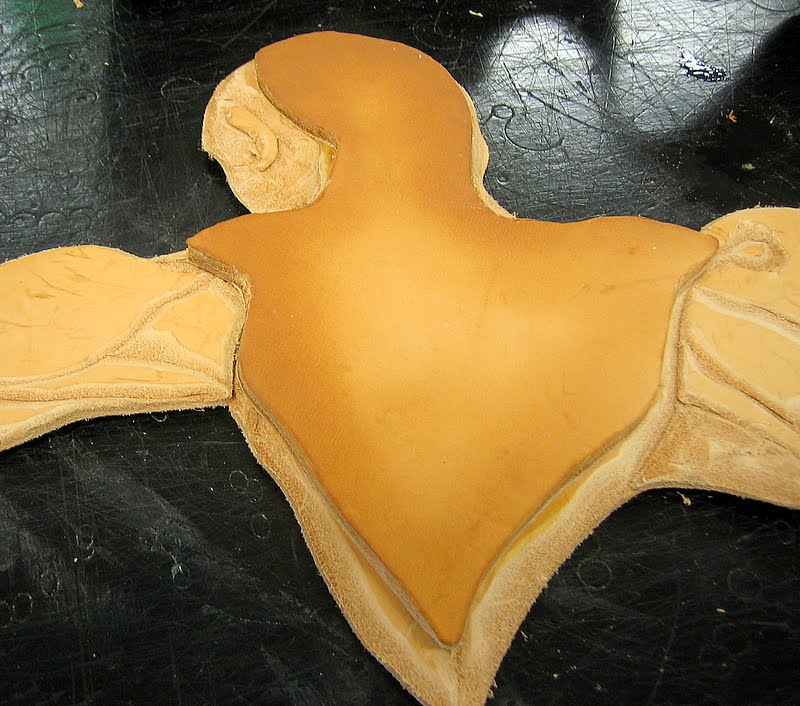
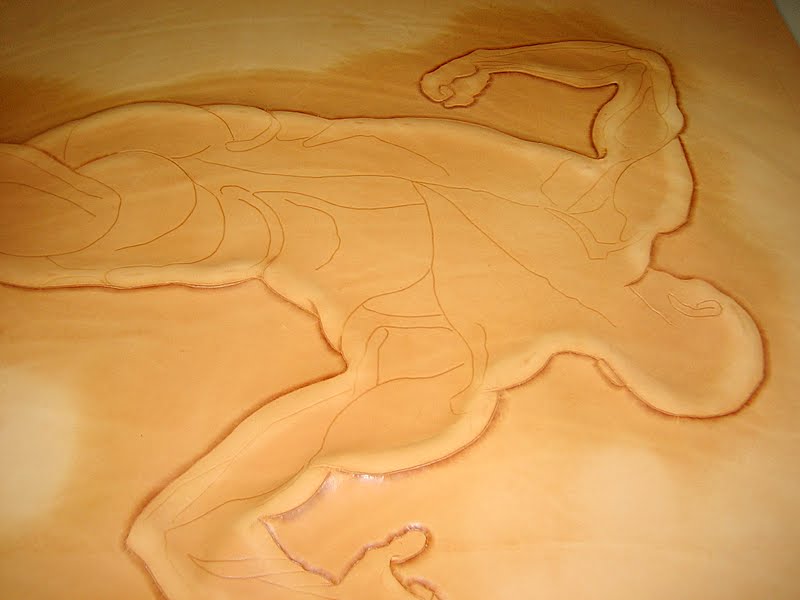
 ...and then you glue the piece of leather onto the rest ...
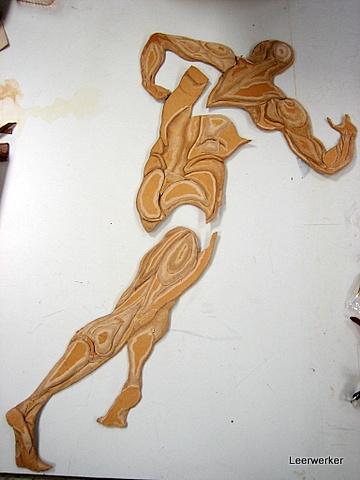
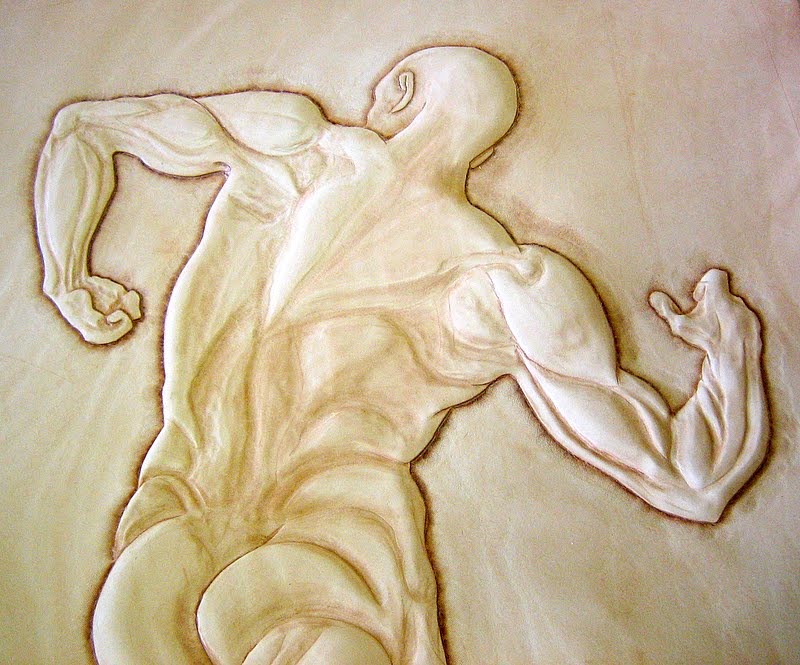
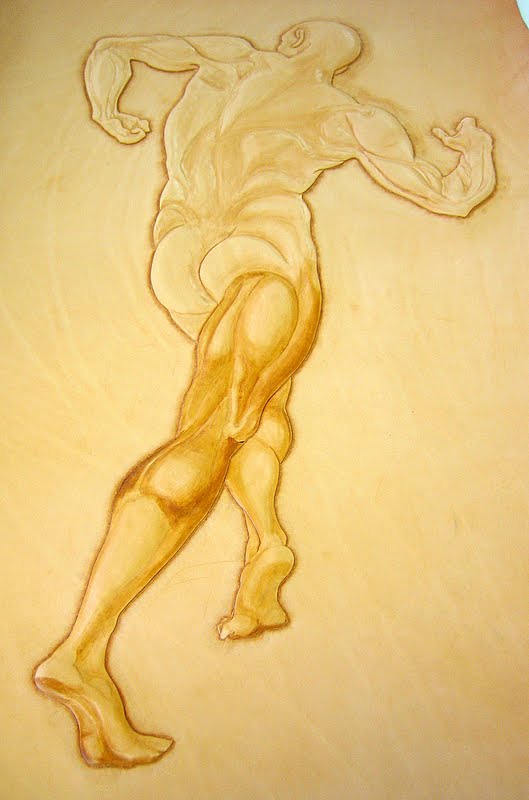
 Let's swap to the other arm where the glue has dried and here we start the sculpting proper:


To see a gallery of photographs of the steps to complete this project, have a look at this blog POST.


Feel free to leave a comment ....

Wednesday, December 3, 2008

Plug Embossing 2

 Here is a gallery of the steps to complete the project started in this blog POST.

Extra pieces are placed on top of the first plug layer where I want it raised a bit more:


The three separate plug pieces are done, and ready to be glued on the back of the main piece of  leather:


The back of the leather after the first round of beveling. It leaves a mark on the back that will help positioning the plug piece:


Starting to add color - first to the test piece:


My brown bckground made the guy's body look too yellow.  So an artist suggested I add some red to the brown, and so I use a mahogany antique gel to get the background just perfect:


The person who framed the project for me, also insisted on framing the test piece, so that it could always accompany the big picture: