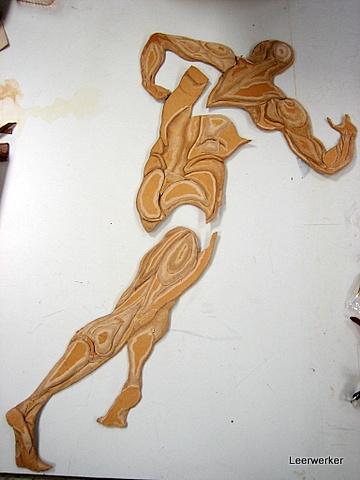
Here is a gallery of the steps to complete the project started in this blog POST.
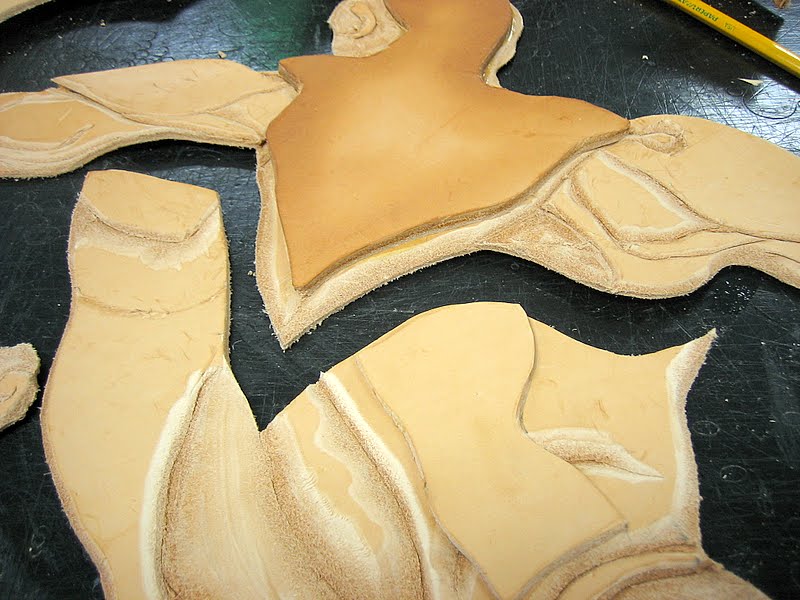
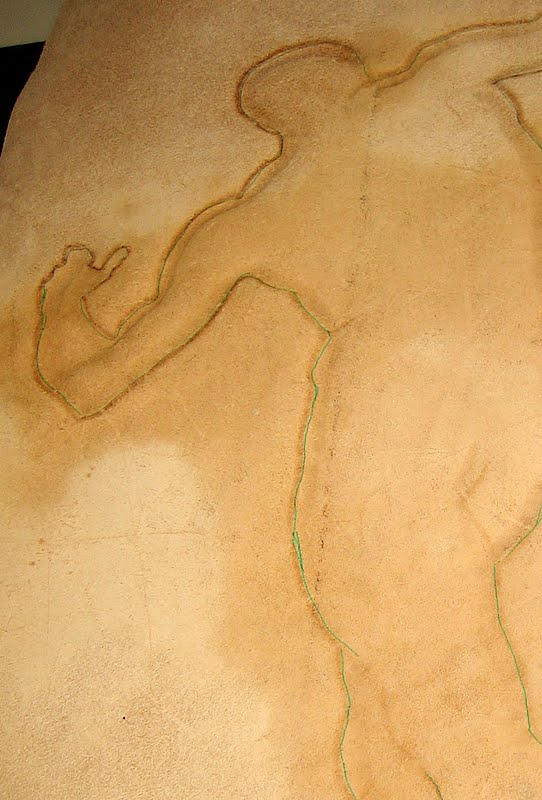
Extra pieces are placed on top of the first plug layer where I want it raised a bit more:
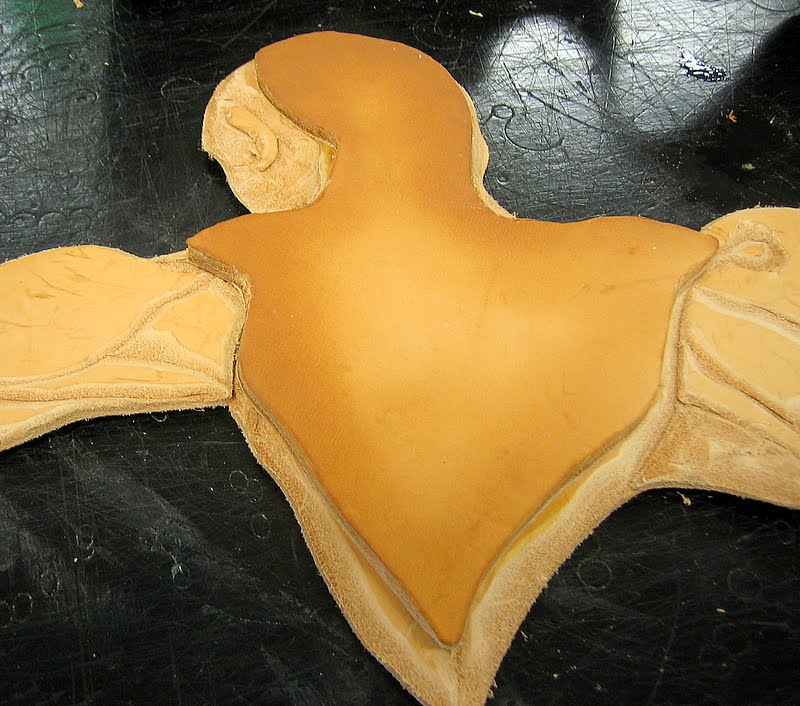
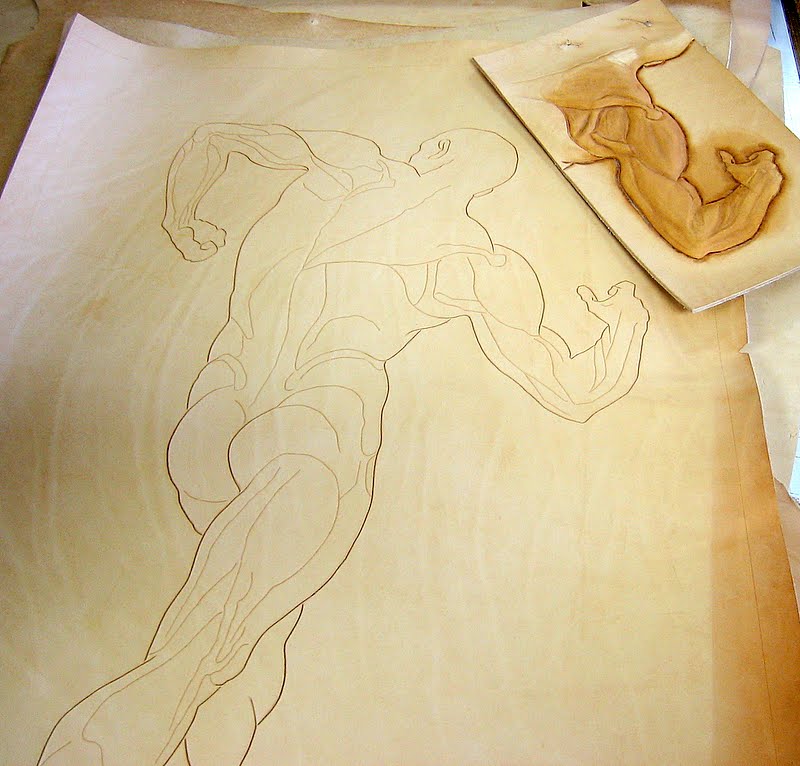
The three separate plug pieces are done, and ready to be glued on the back of the main piece of leather:
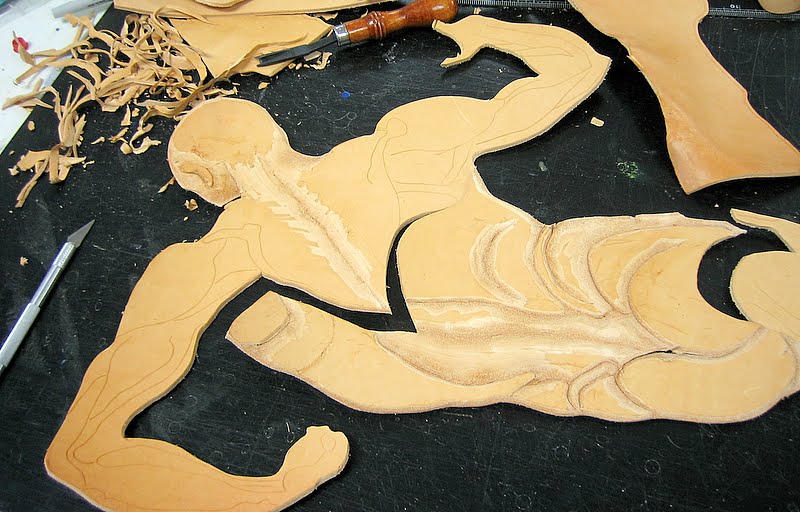
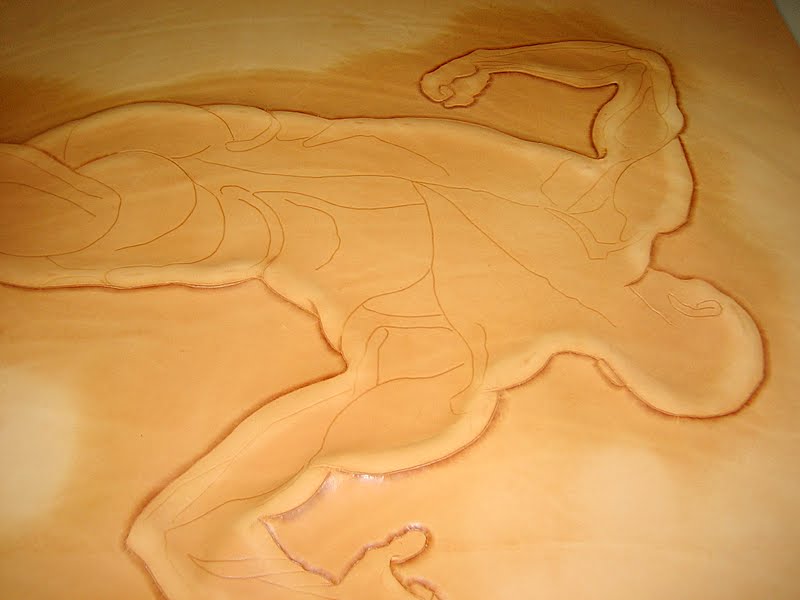
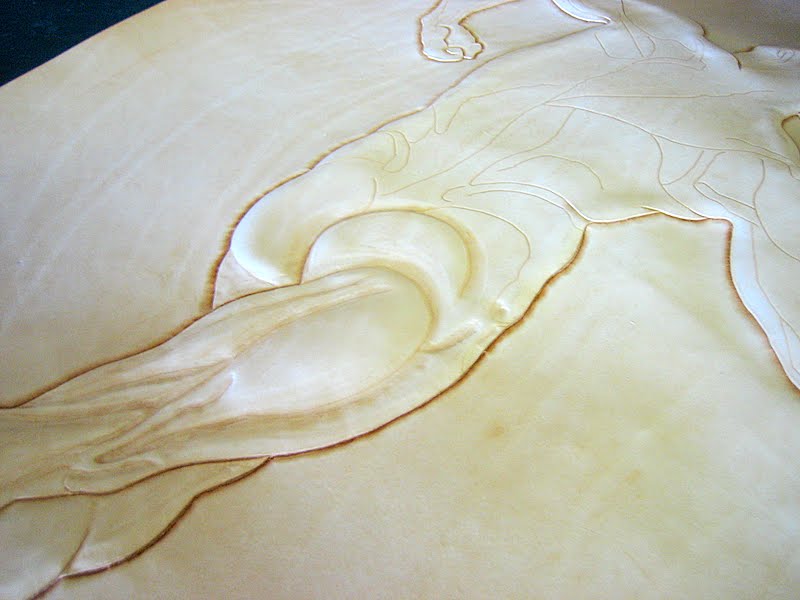
The back of the leather after the first round of beveling. It leaves a mark on the back that will help positioning the plug piece:
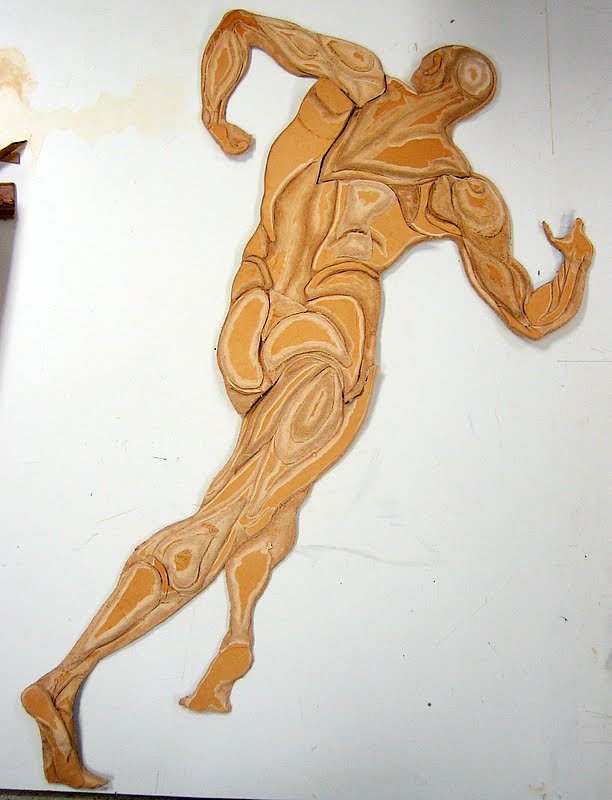
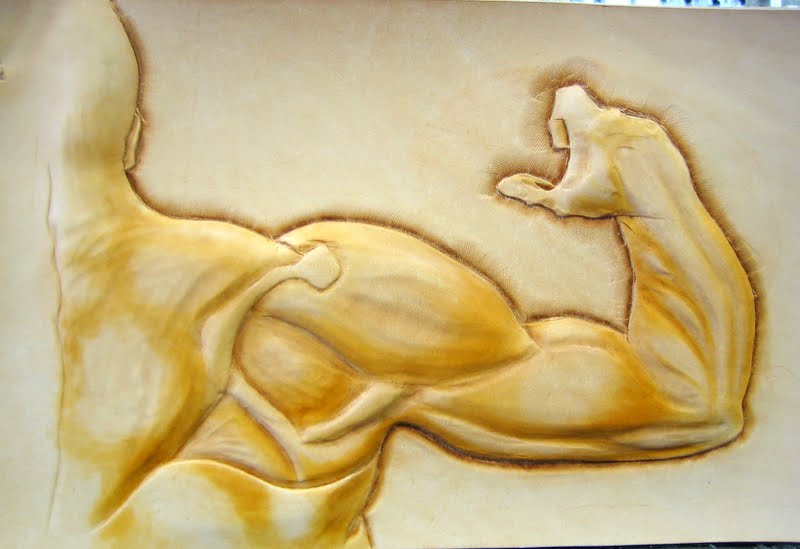
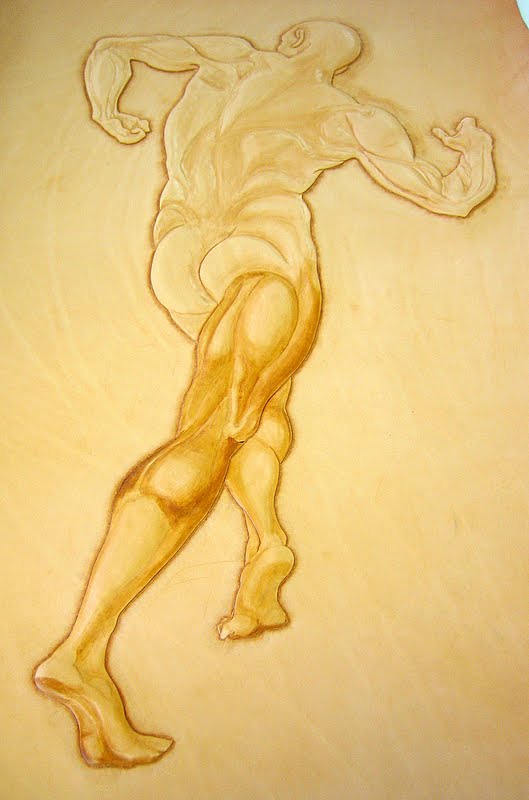
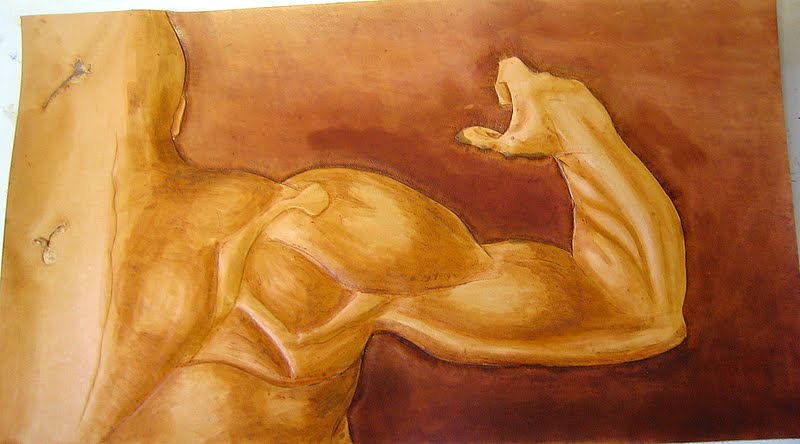
Starting to add color - first to the test piece:
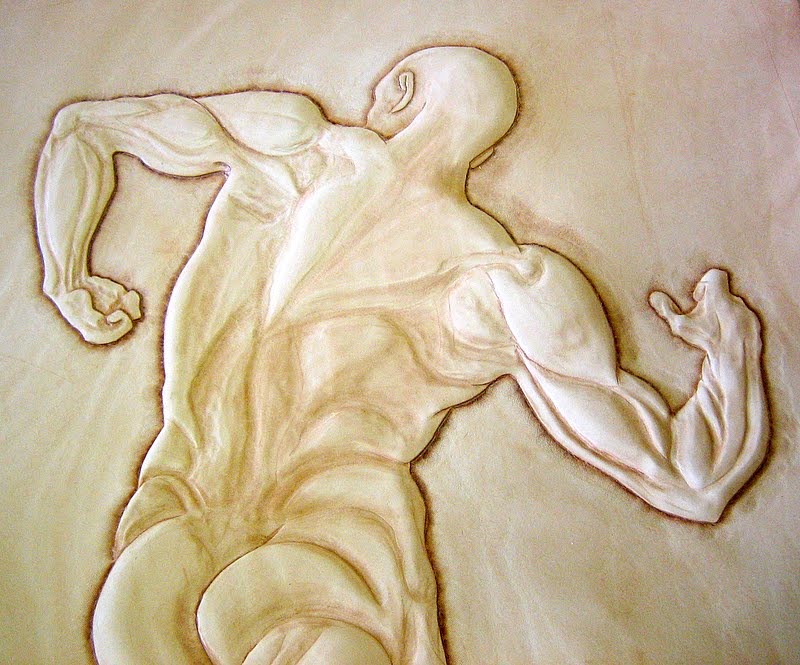
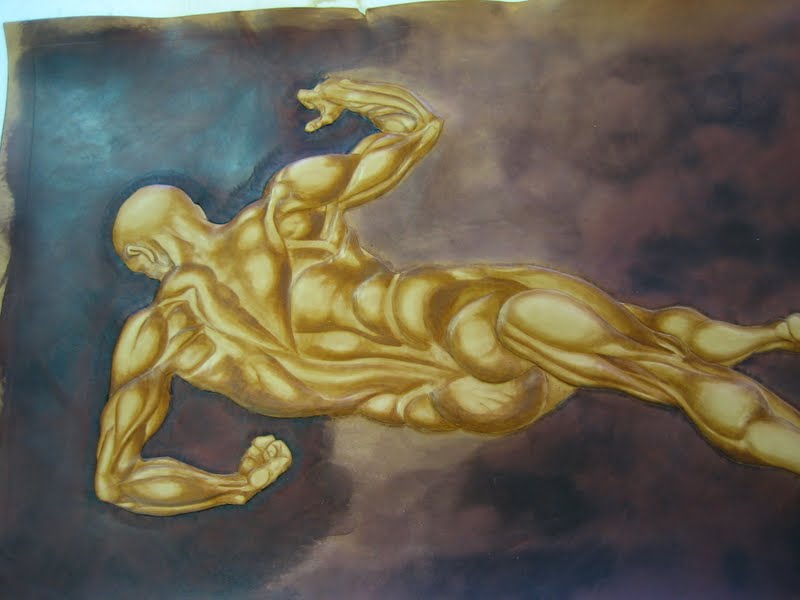
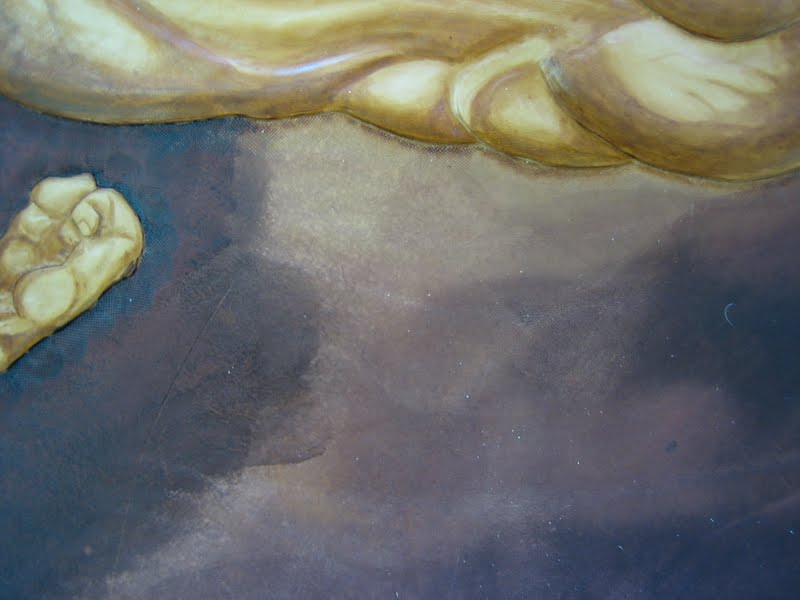
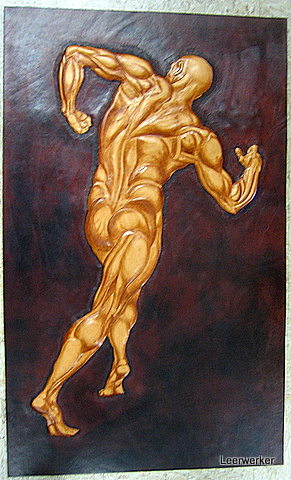
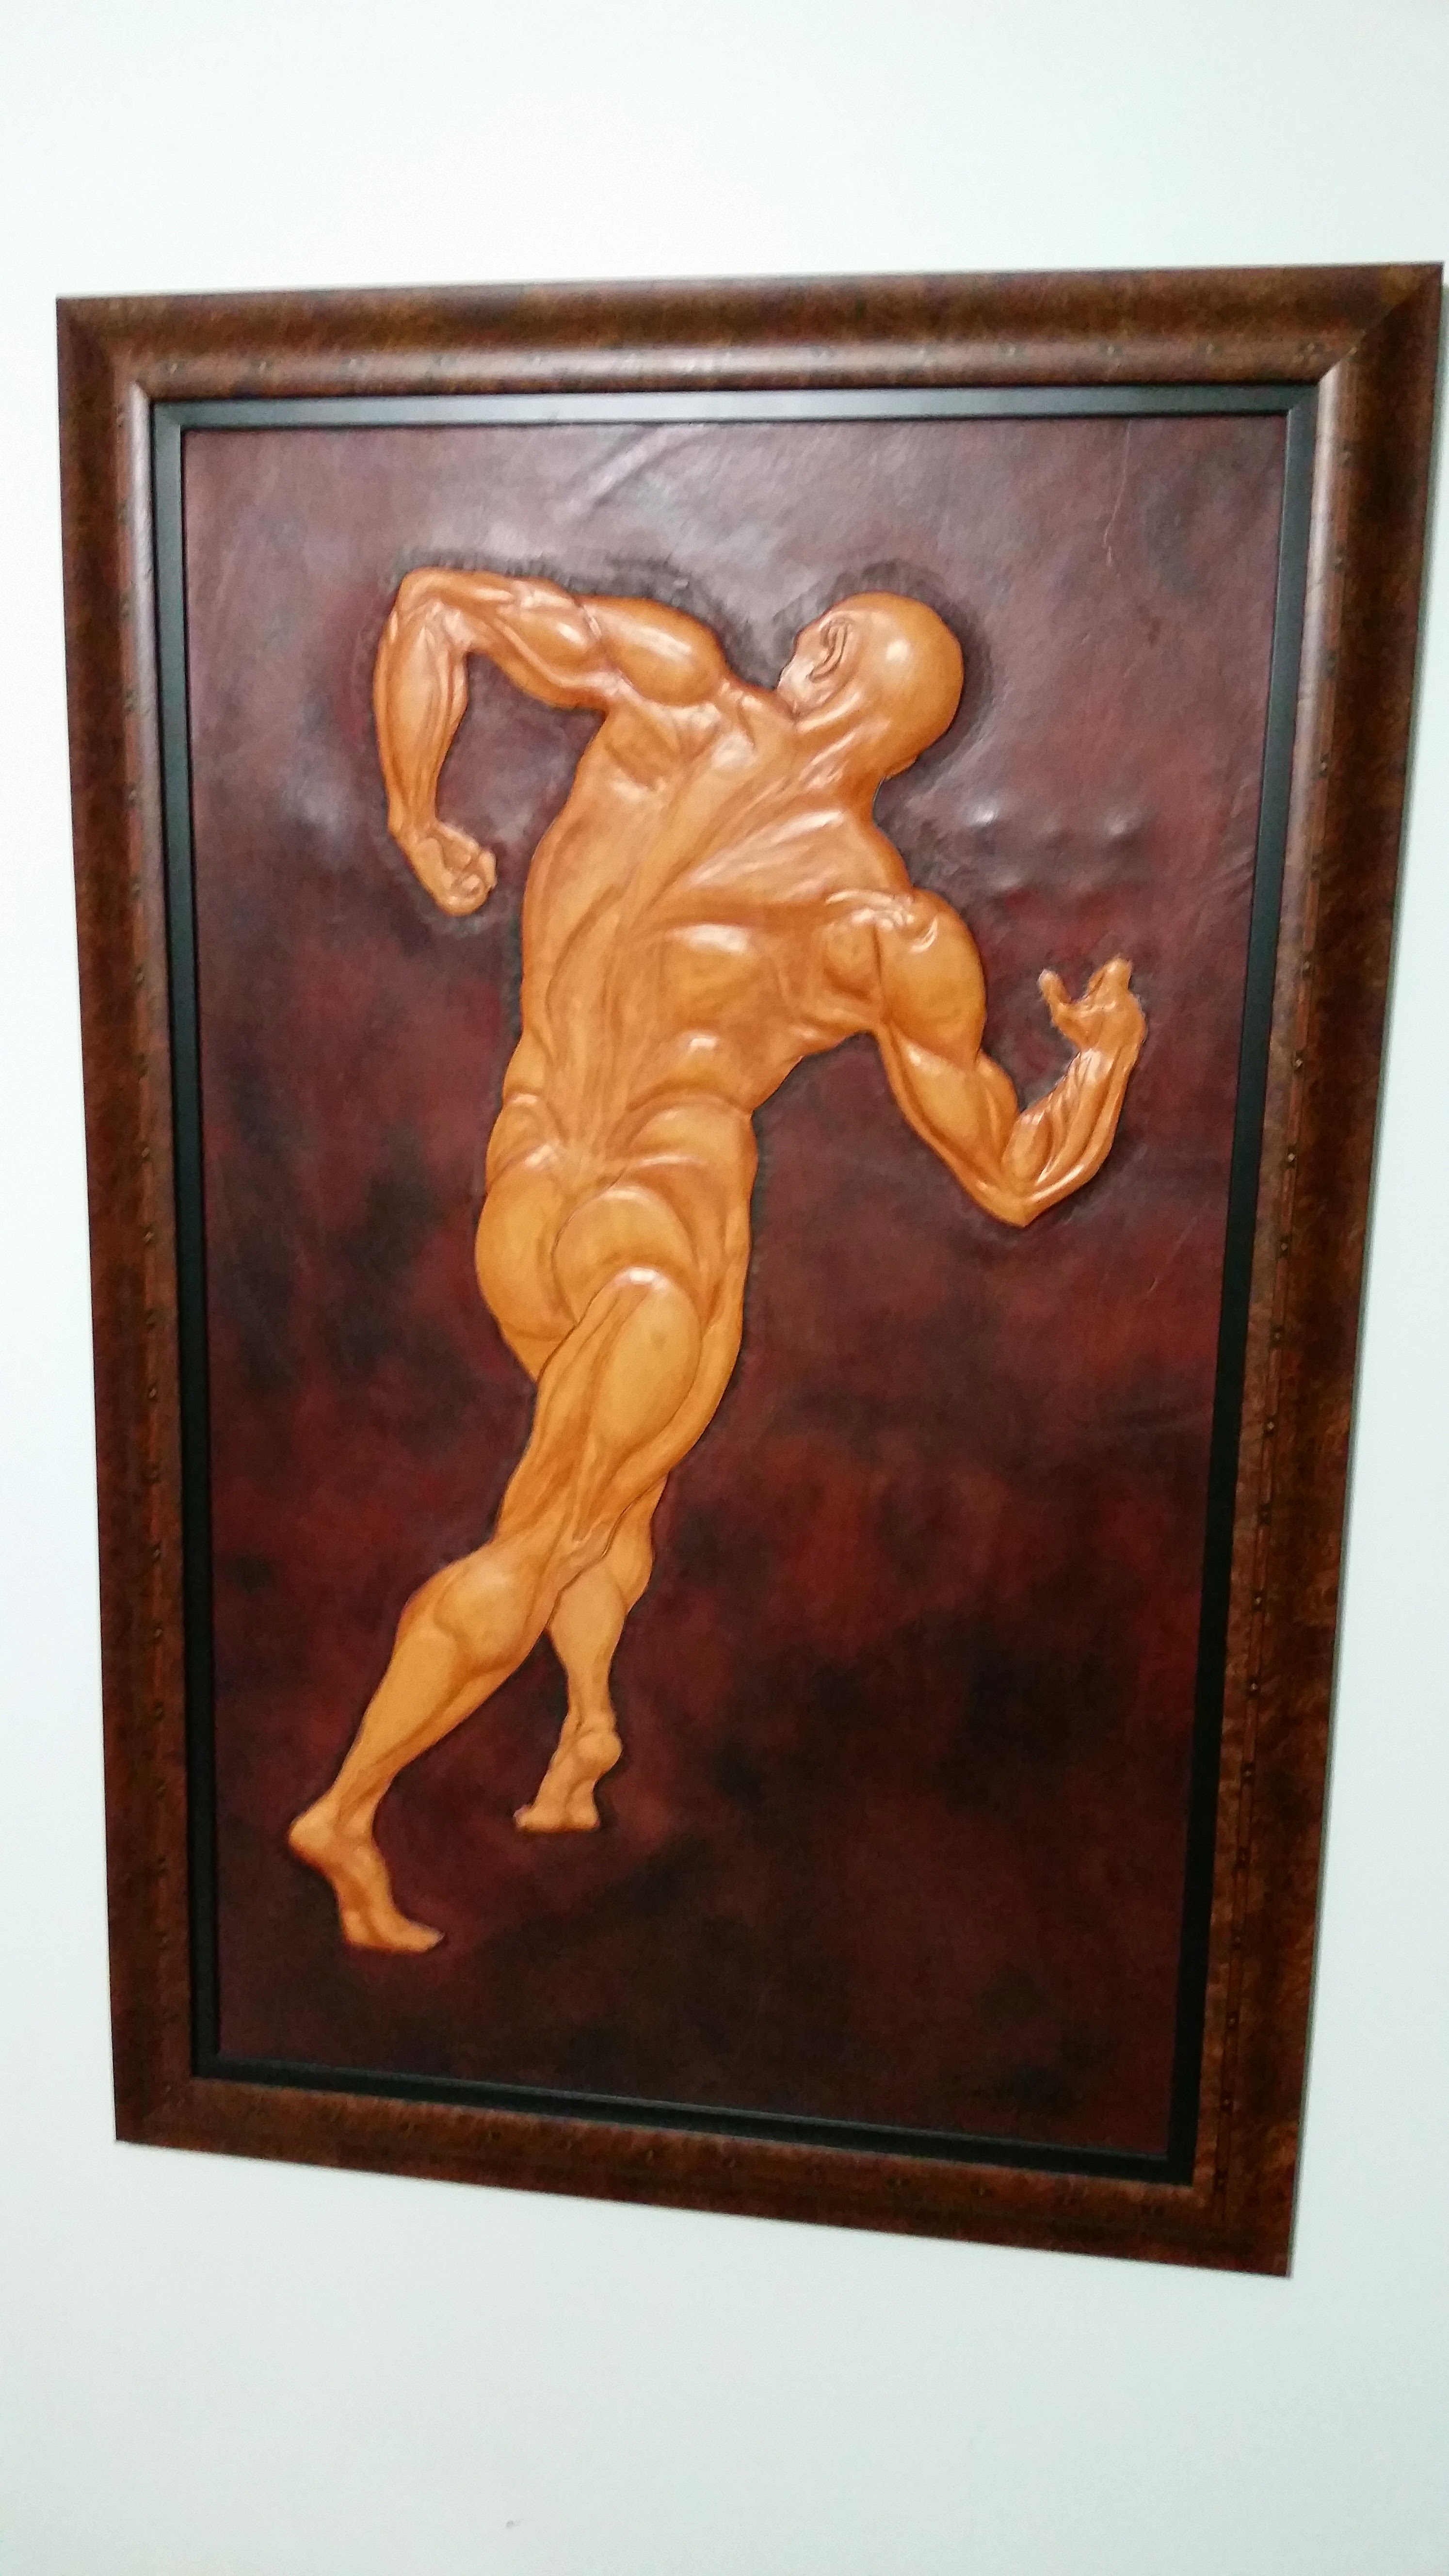
My brown bckground made the guy's body look too yellow. So an artist suggested I add some red to the brown, and so I use a mahogany antique gel to get the background just perfect:
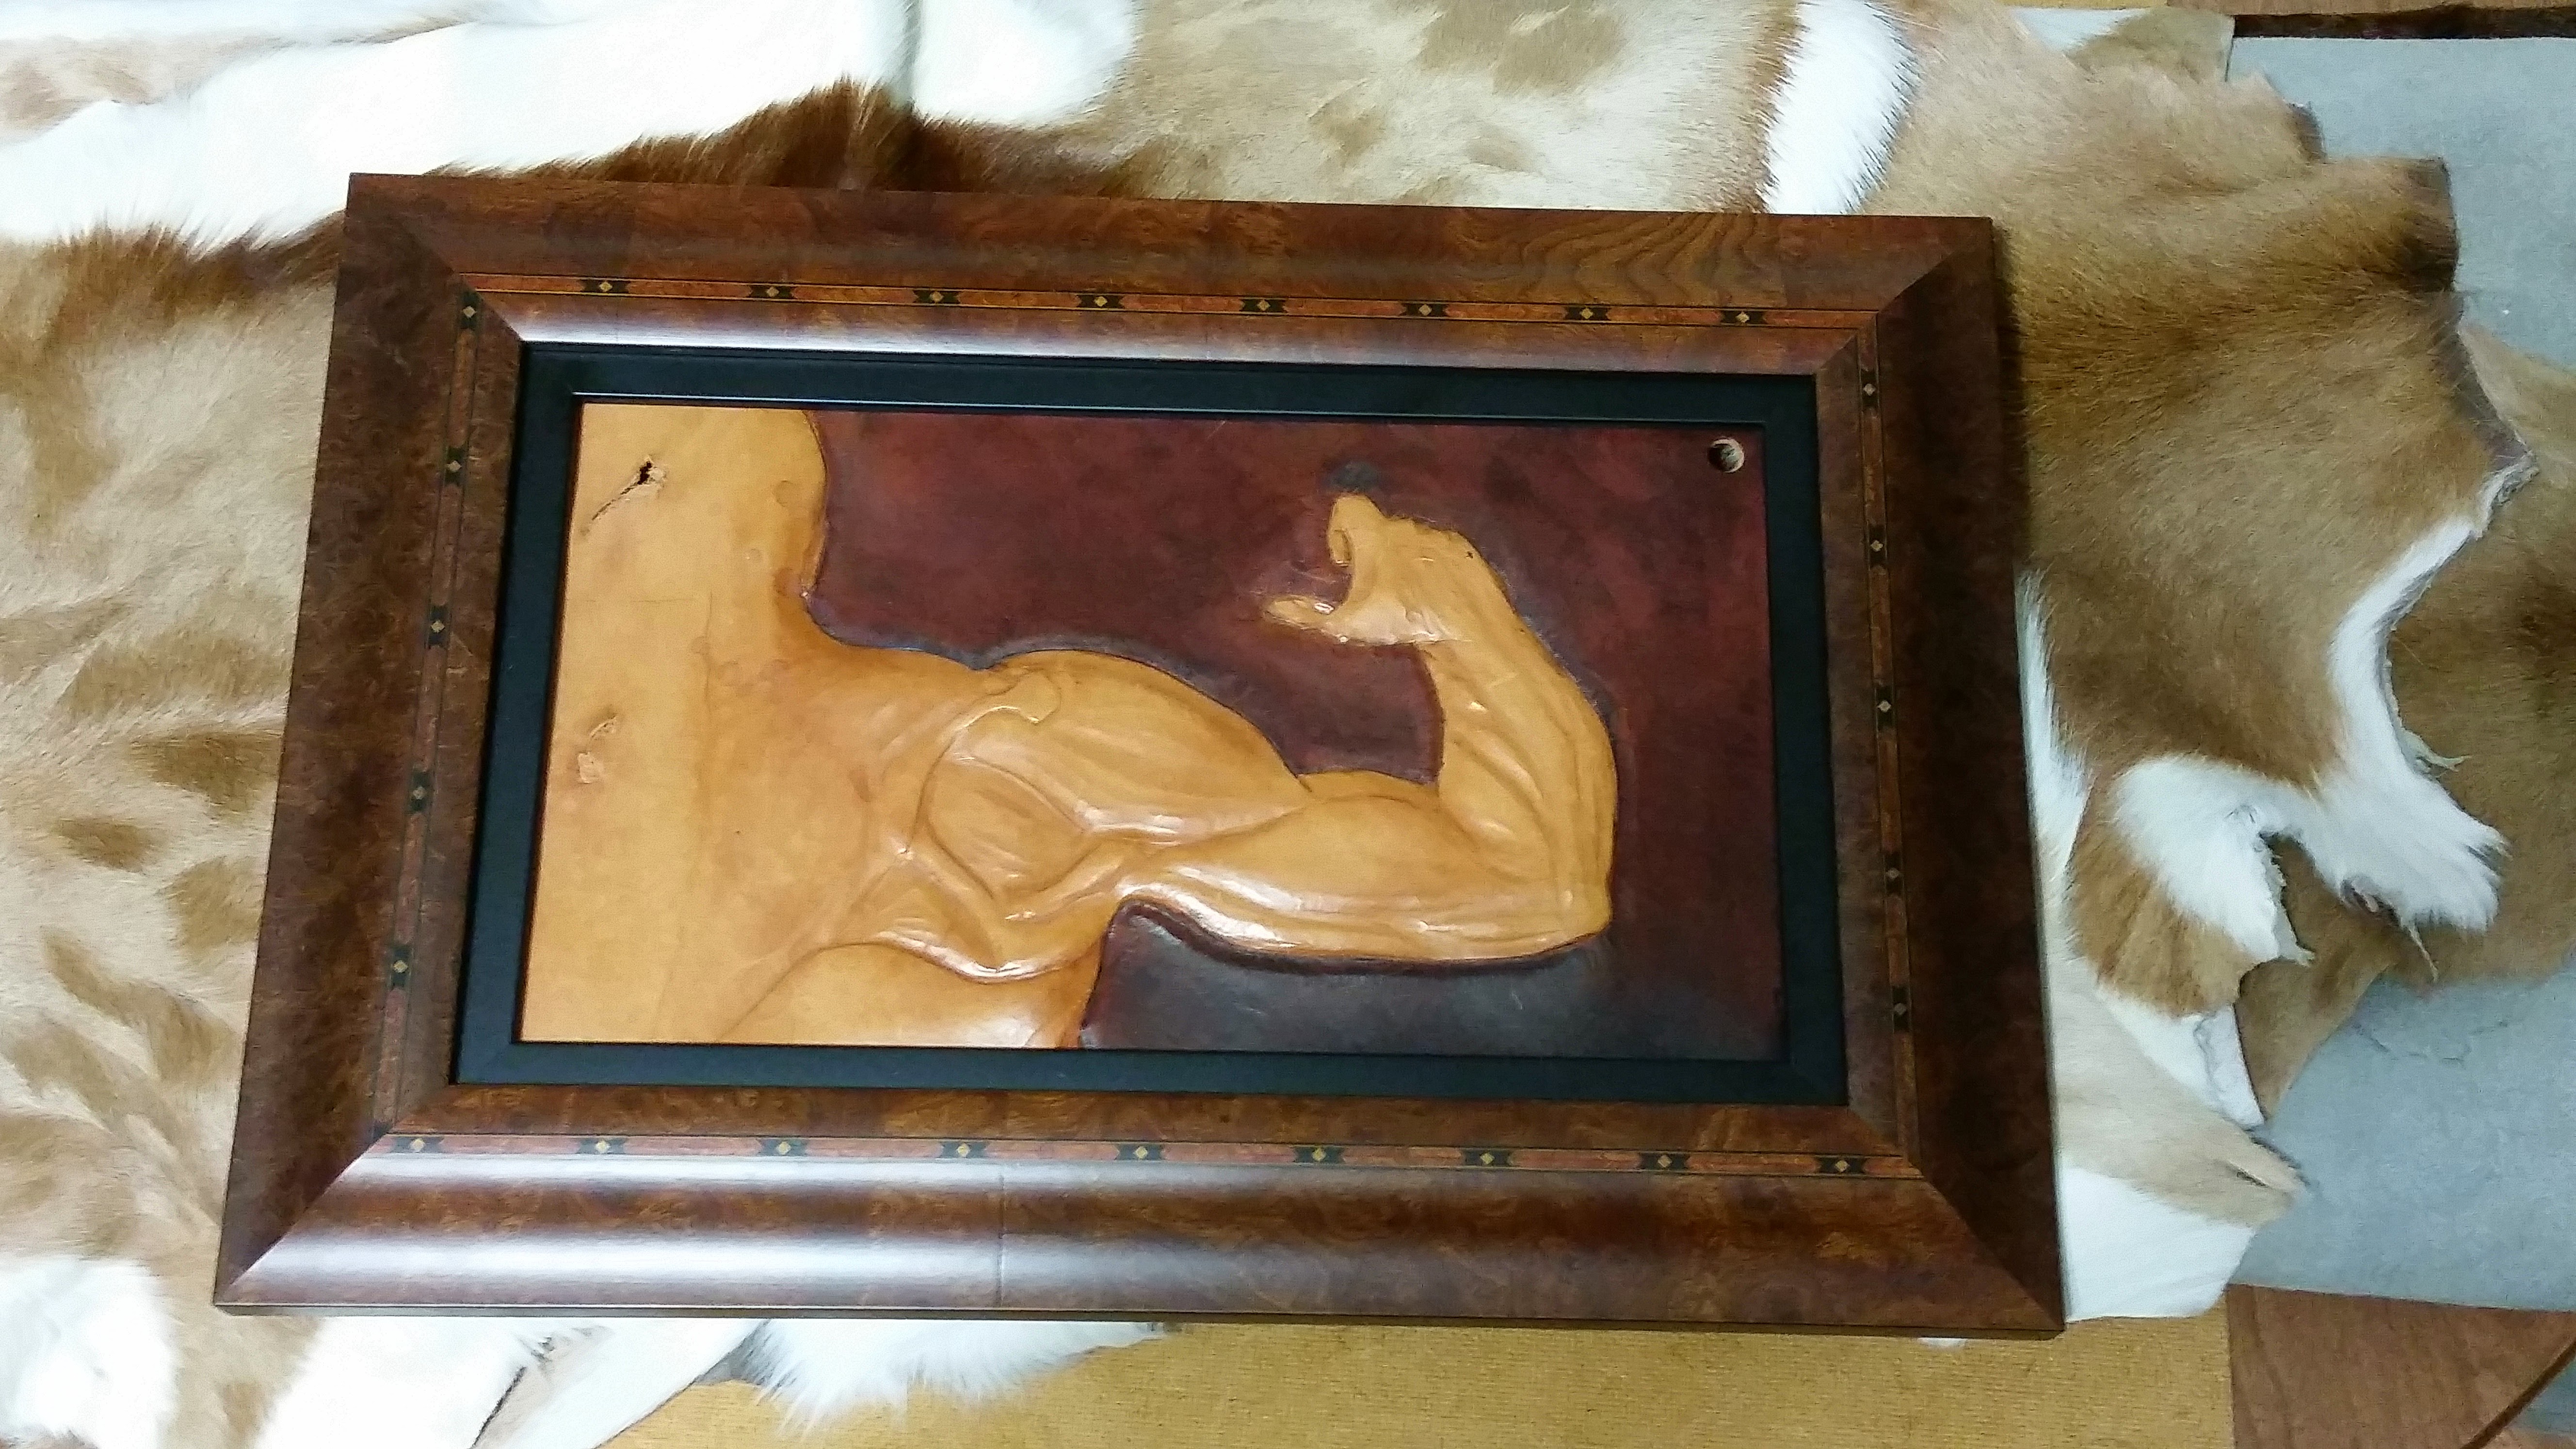
The person who framed the project for me, also insisted on framing the test piece, so that it could always accompany the big picture:


No comments:
Post a Comment