These are fun to make, are not a lot of work and make very nice gifts (any time of year is a good time to stock up on Christmas gifts!).
The insides can be any bound journal - I prefer Moleskin journals.
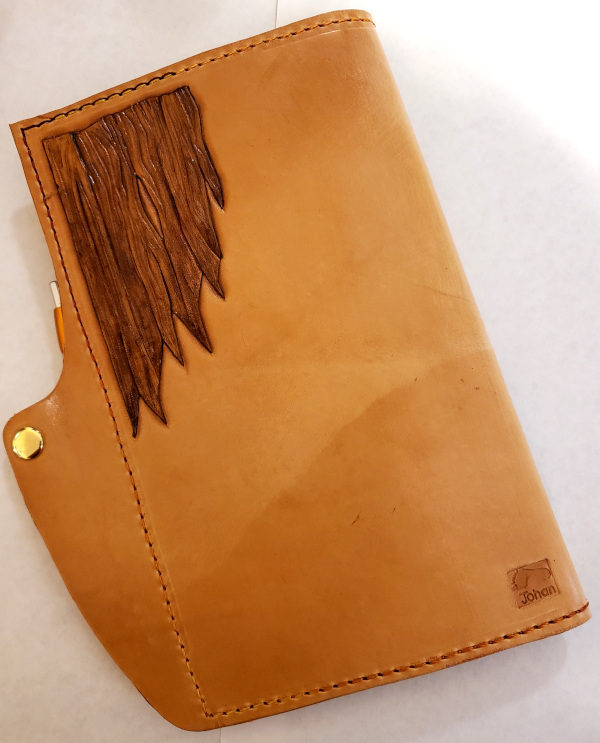
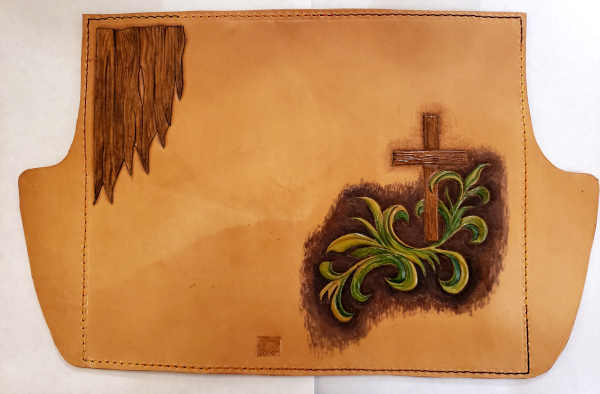
I want to introduce you to a unique shape I developed for the journal covers.
This is what it looks like from the front:
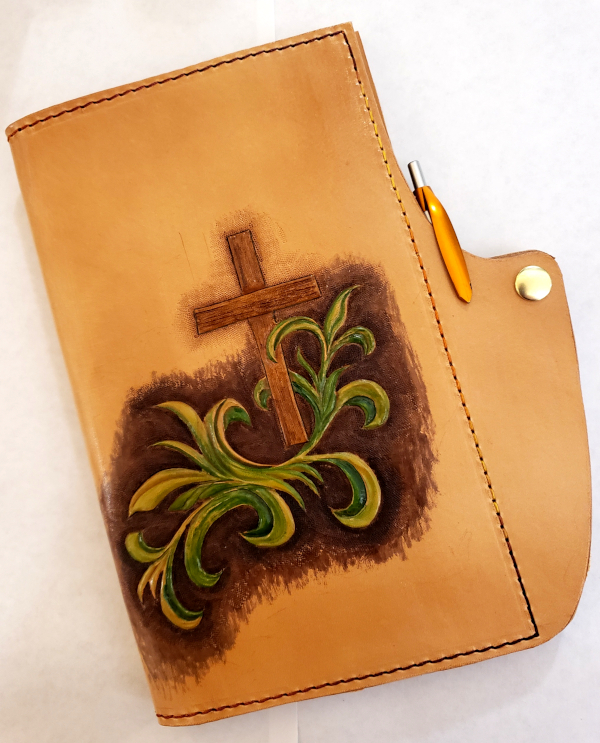
I use snaps on those wings, and that way there is nothing bulky on the front or back of the journal cover to prevent you from writing on a flat surface.
On the inside I stitch one or two sleeves into which the outer cover of the journal can slide. In the photo you will see this one has two sleeves - one on the left (the front of the cover) and one on the right (what will be the back of the cover). In the photo you will see the smaller easy-to-remove diary planner I was asked to make space for.
The size of the sleeves should also be noted - they are made almost as wide as the journal page. Again, regardless of whether you are writing in the back or front of the journal, you will have a flat surface behind your page, and not a ridge where the sleeve ends.
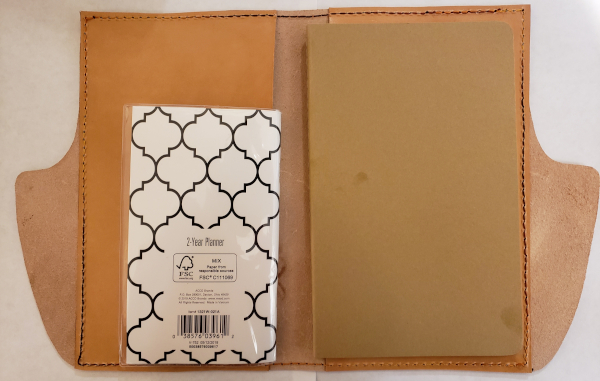
I do make the sleeves of the thinnest leather I can lay my hands on so as not to have too bulky and end product.
If I have a sleeve only on one side of the cover for a single journal, I only stitch on that side, but nothing prevents you to stitch all round as I have done here (I had to because I have two sleeves inside).
No comments:
Post a Comment