Friday, May 15, 2009

Line Drawings by Computer

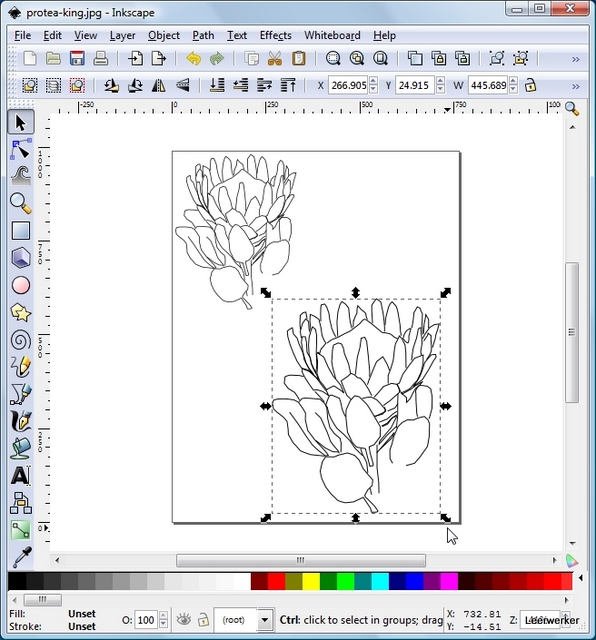
Making your own line drawings with a very simple free program is very easy. 

 The program is Inkscape and the full instructions can be found on the LeatherLearn Website

A Screenshot of the program with a completed line drawing:


Thursday, December 4, 2008

Plug Embossing

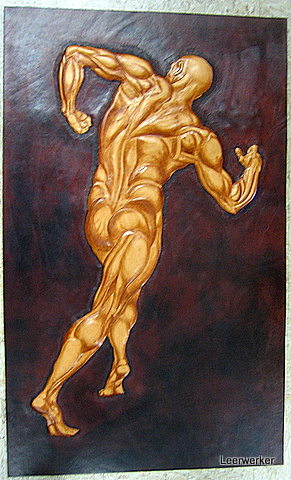
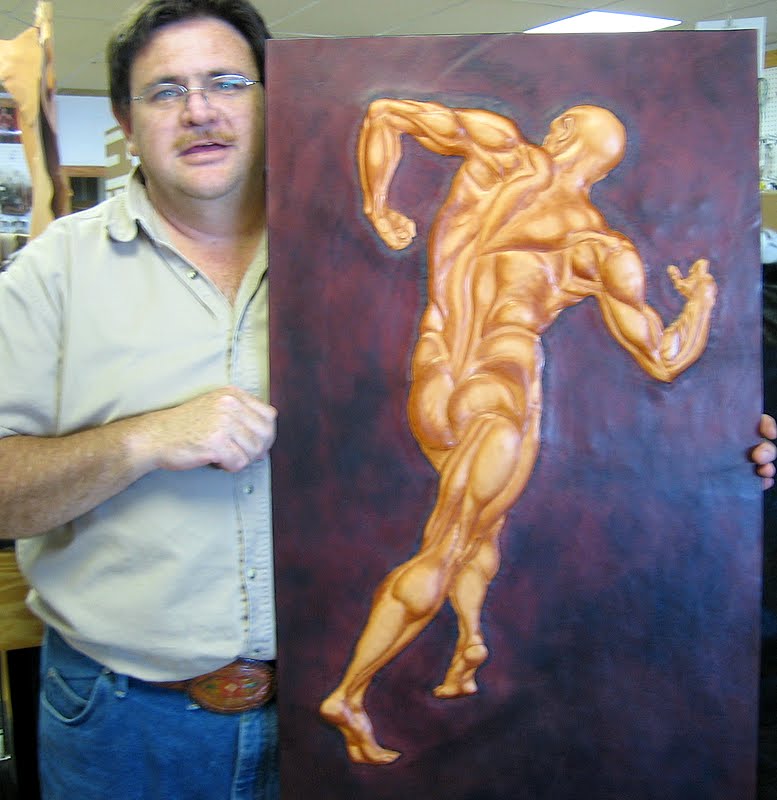
Made this project in August of 2008.


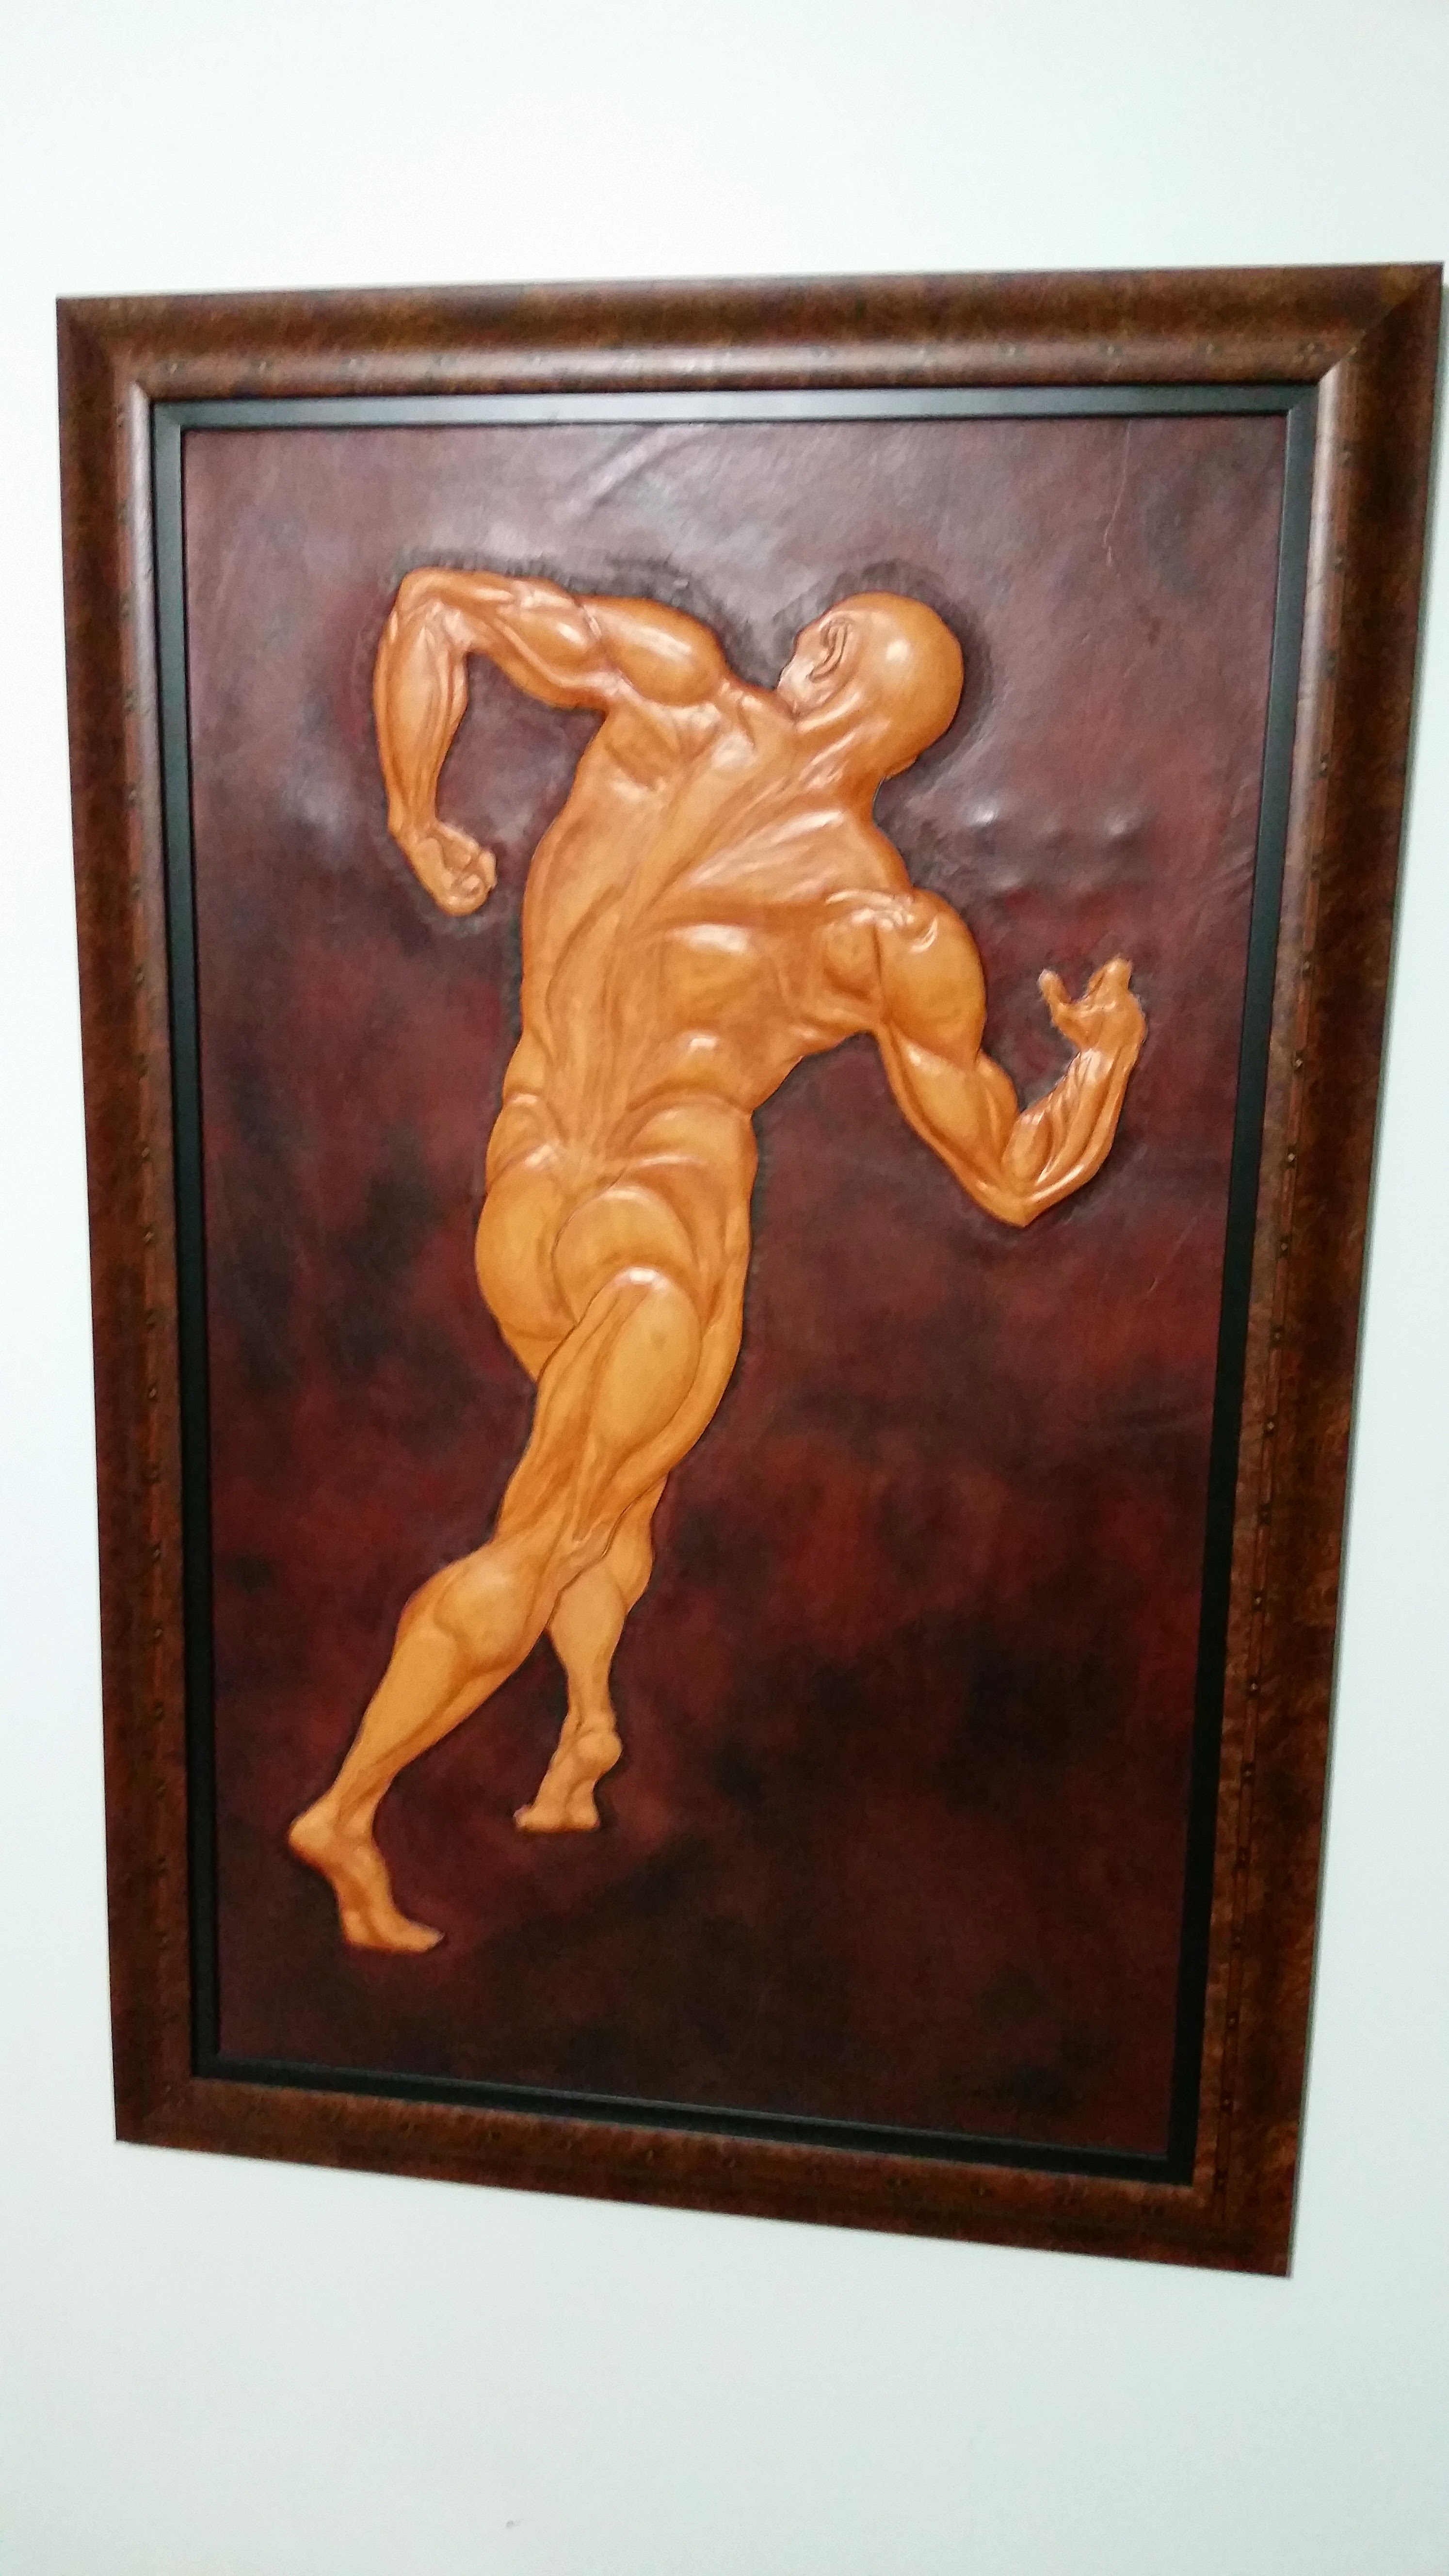
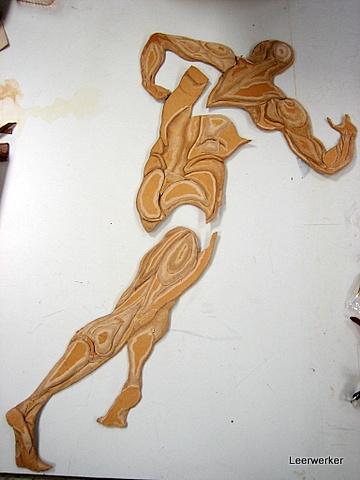
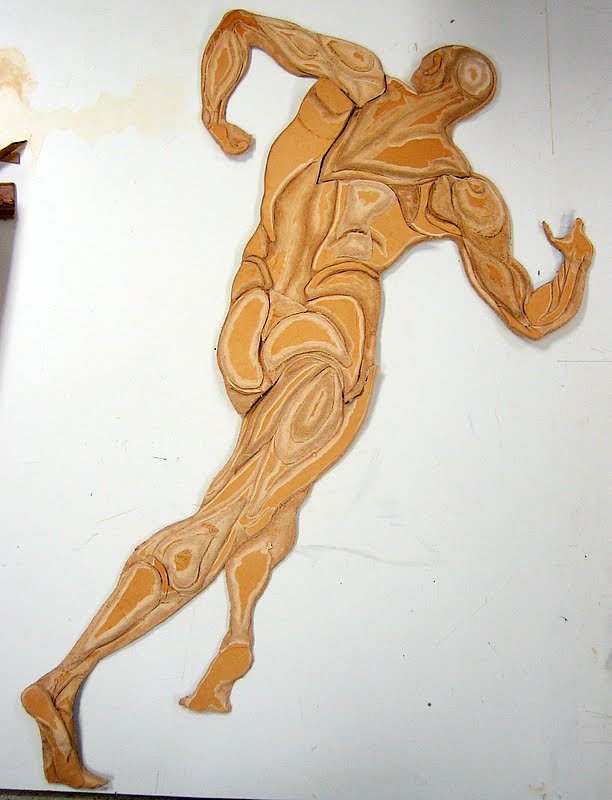
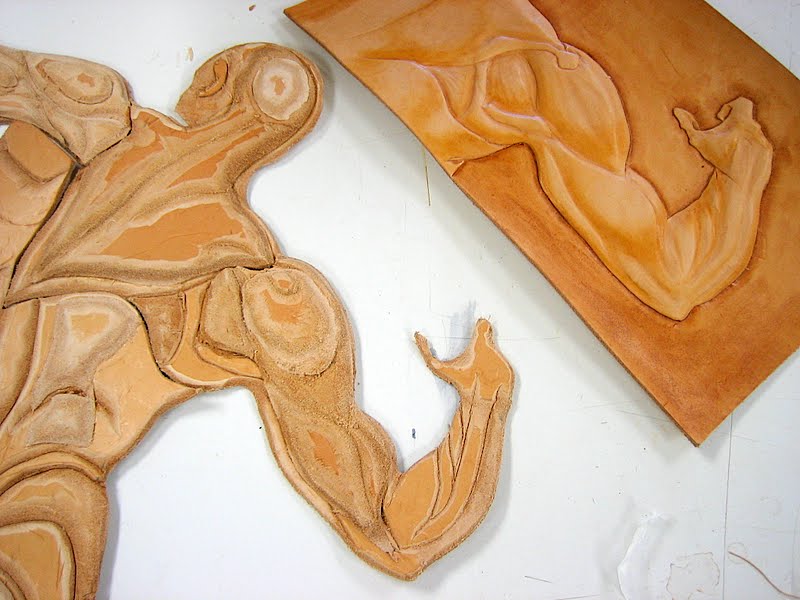
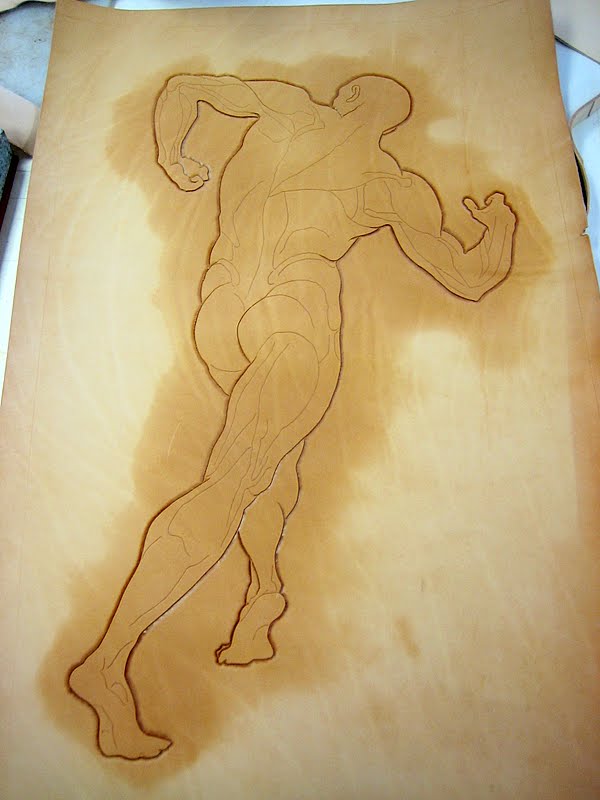
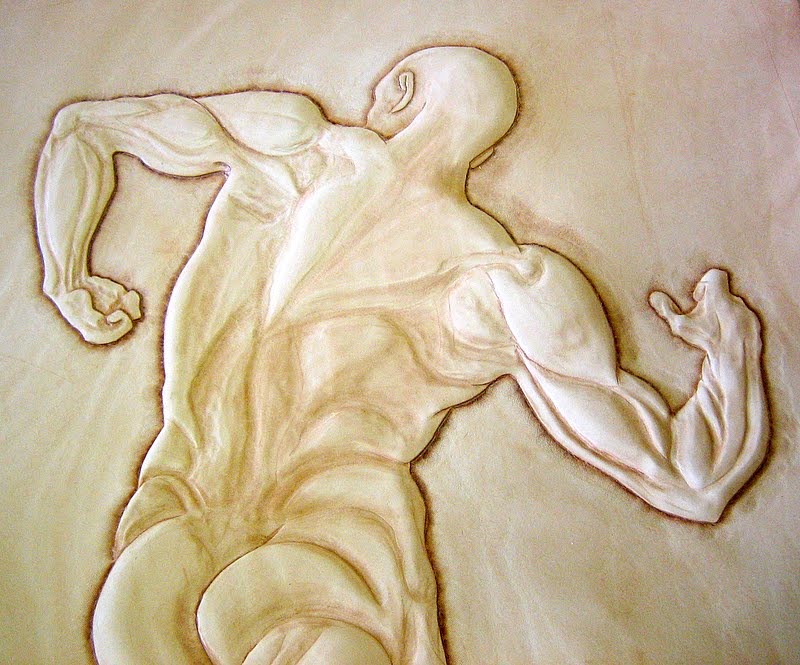
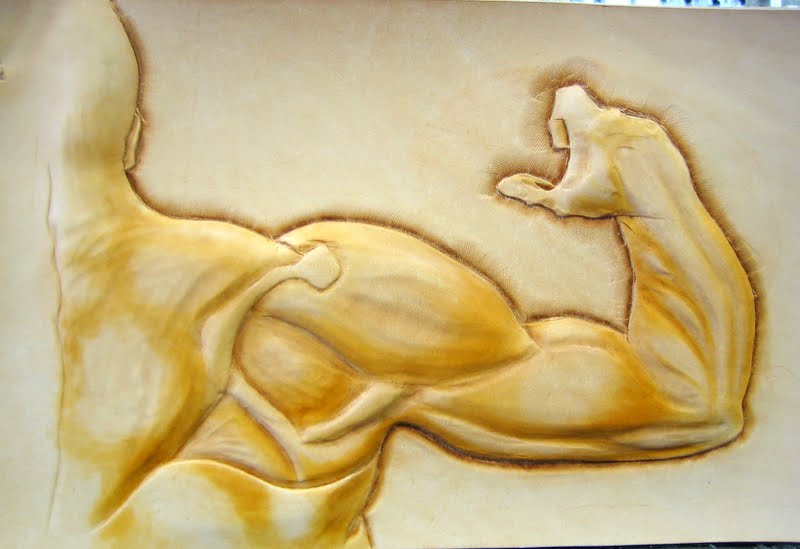
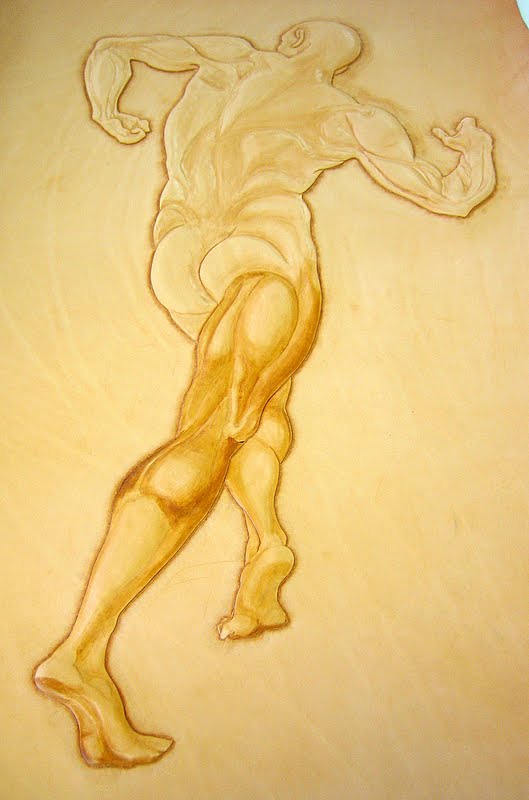
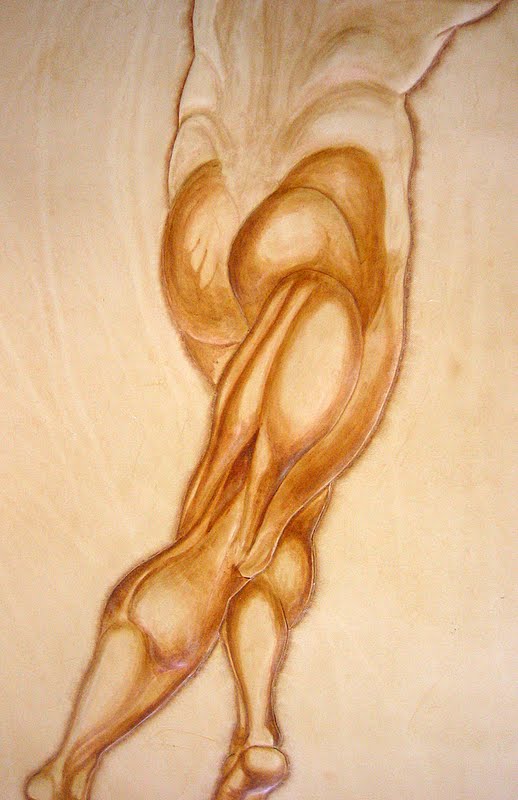
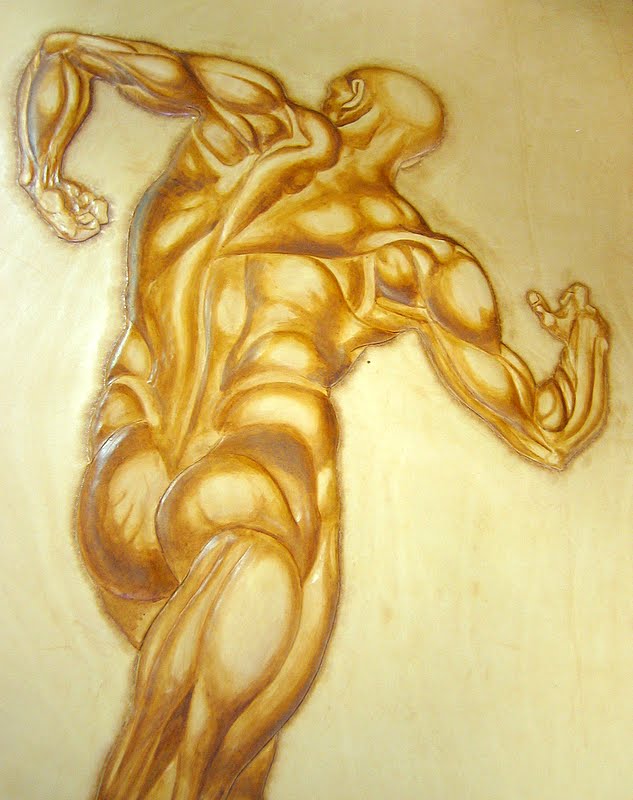
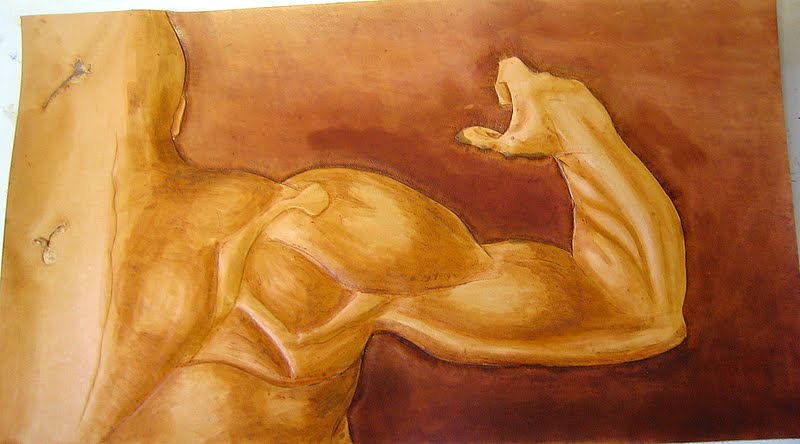
This project shows some steps in embossing by shaping plugs over which the outer layer of leather will be formed.


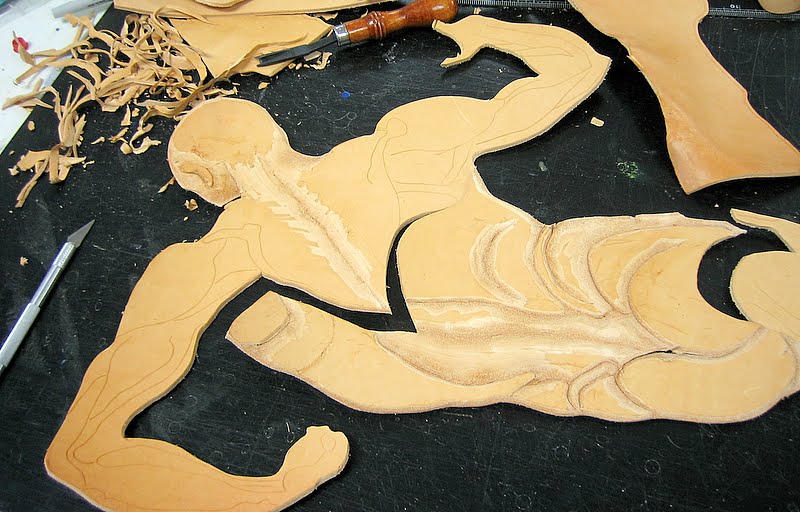
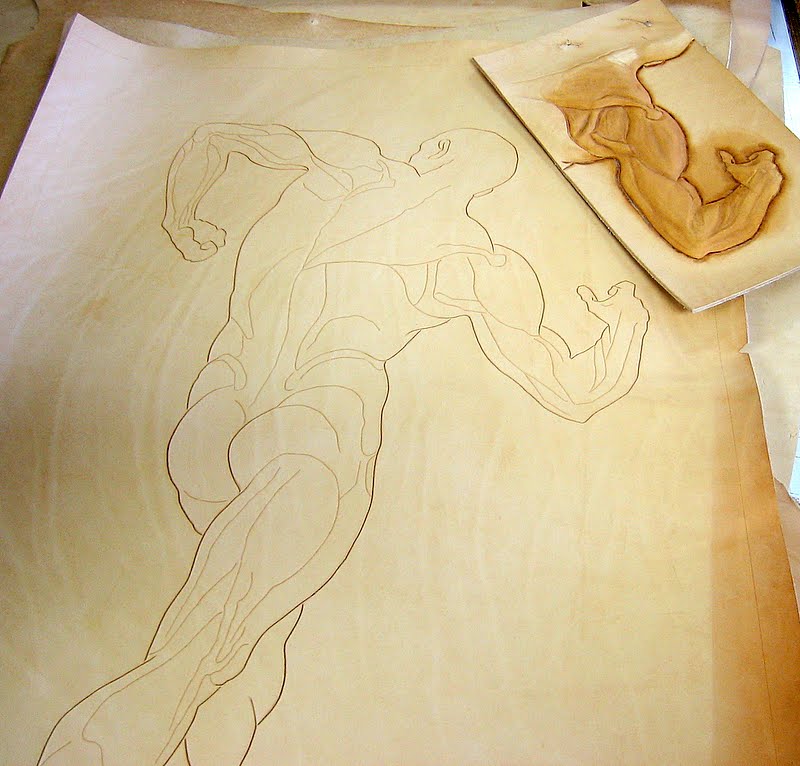
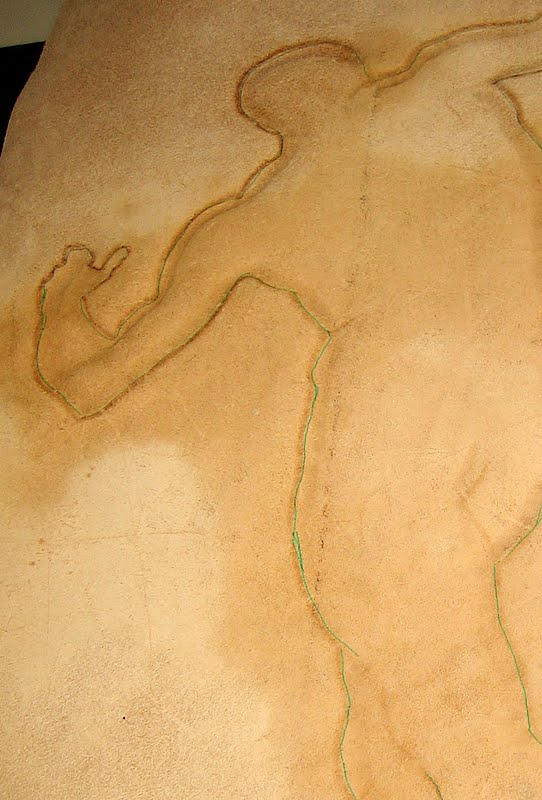
One of the first steps is putting a second layer of leather on the plug. I lay the tracing film over the bottom plug layer and trace the outline - i.e. the size I want to cut the leather for the second layer. I also trace the lines that indicate the "valleys" between muscles, so that I can cut those into the plug. 

The plug very much simulates the actual final carving as far as detail is concerned.

  The next step is cutting out the plug:
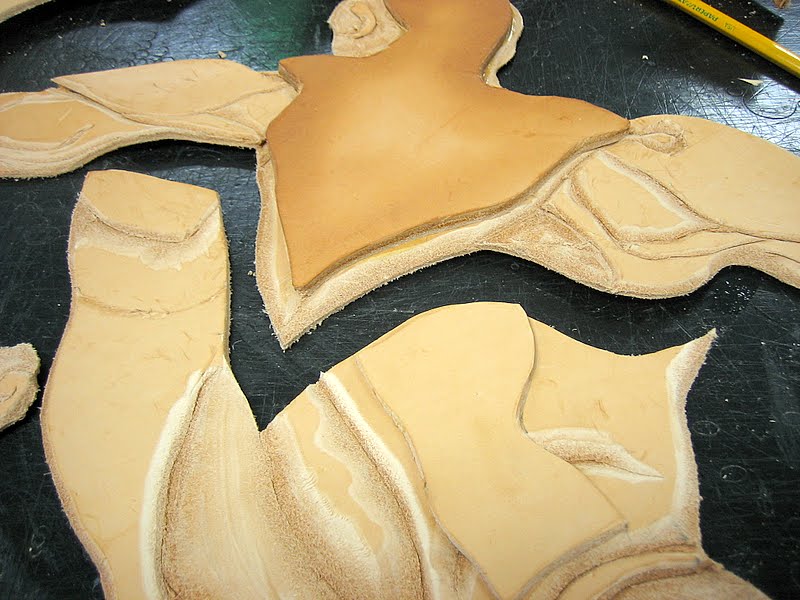
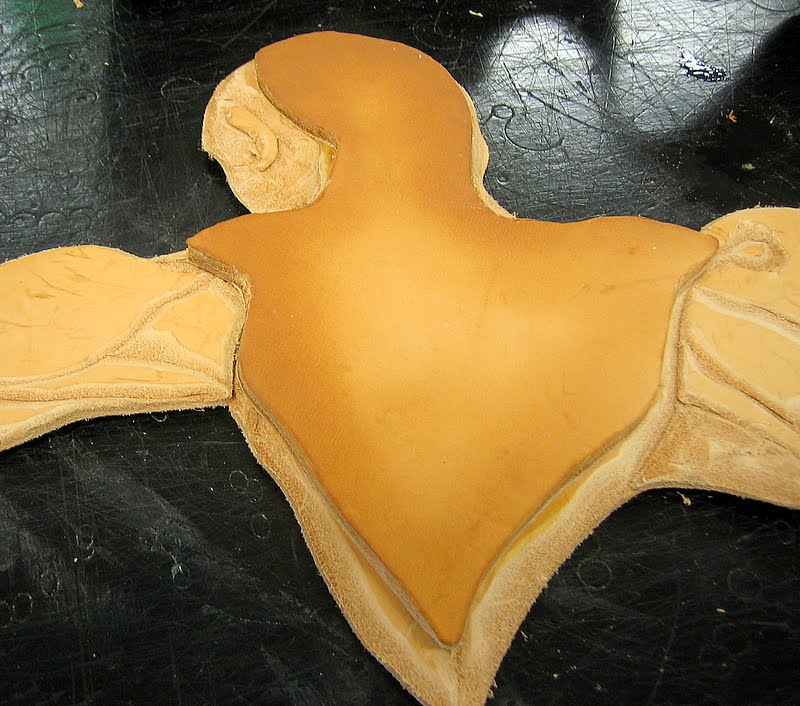
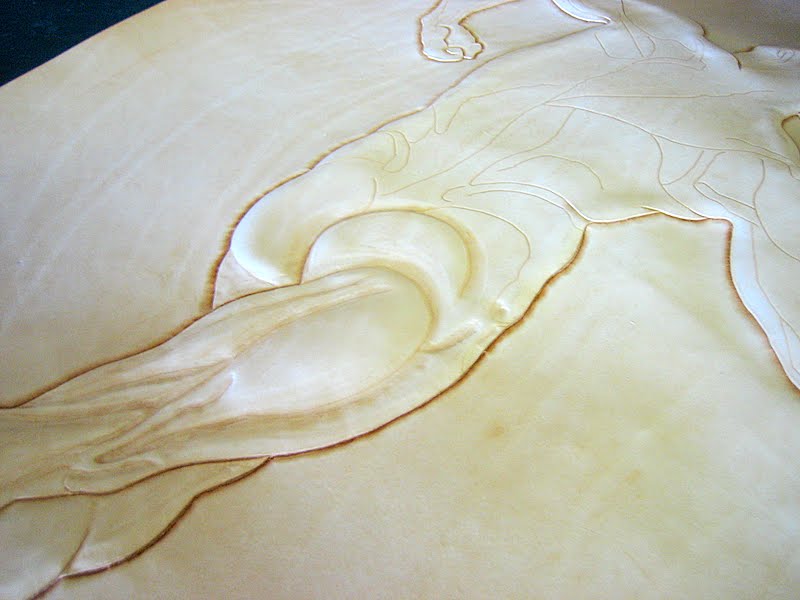
 ...and then you glue the piece of leather onto the rest ...
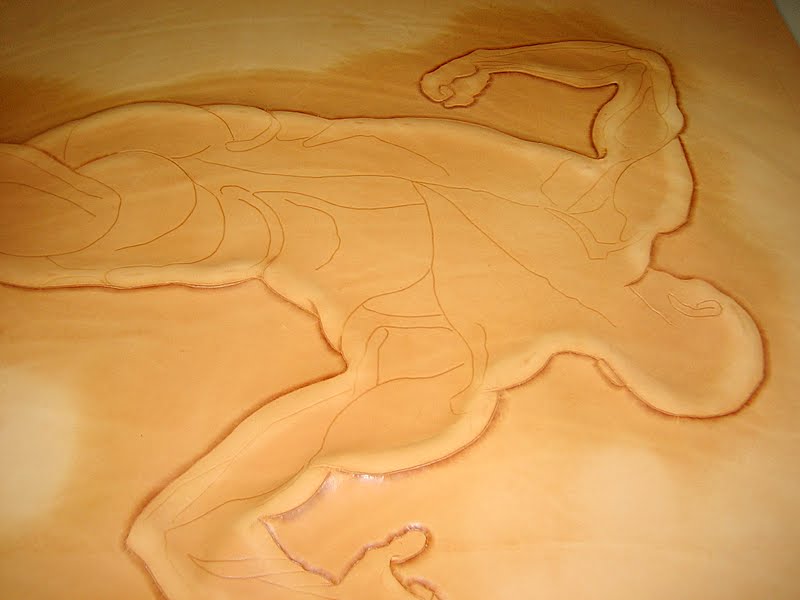
 Let's swap to the other arm where the glue has dried and here we start the sculpting proper:


To see a gallery of photographs of the steps to complete this project, have a look at this blog POST.


Feel free to leave a comment ....

Wednesday, December 3, 2008

Plug Embossing 2

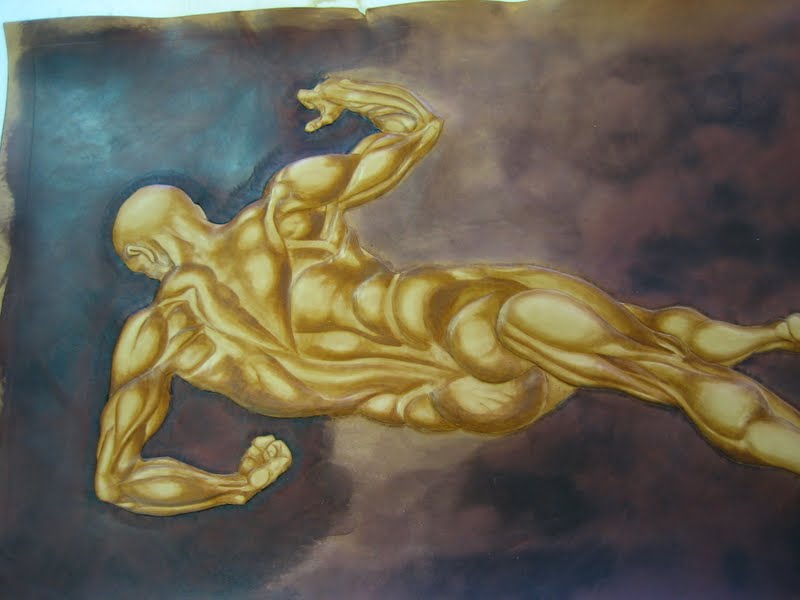
 Here is a gallery of the steps to complete the project started in this blog POST.

Extra pieces are placed on top of the first plug layer where I want it raised a bit more:


The three separate plug pieces are done, and ready to be glued on the back of the main piece of  leather:


The back of the leather after the first round of beveling. It leaves a mark on the back that will help positioning the plug piece:


Starting to add color - first to the test piece:


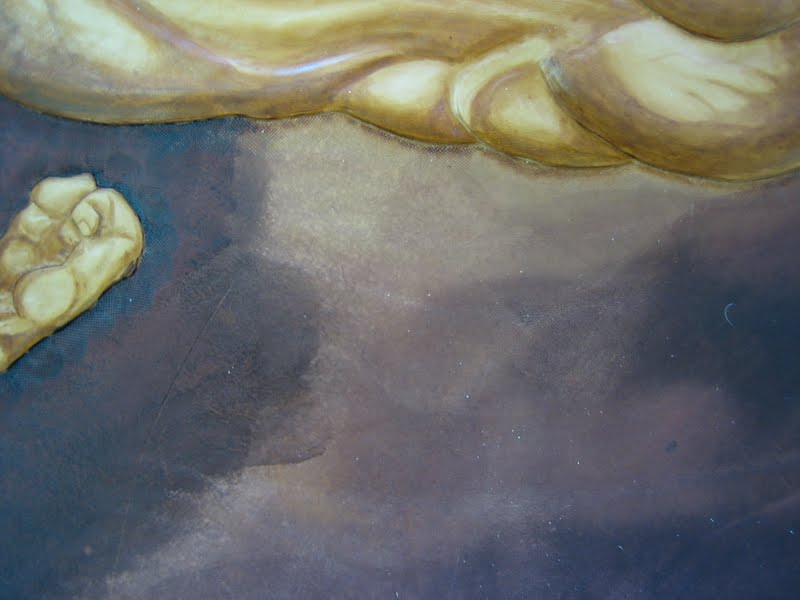
My brown bckground made the guy's body look too yellow.  So an artist suggested I add some red to the brown, and so I use a mahogany antique gel to get the background just perfect:


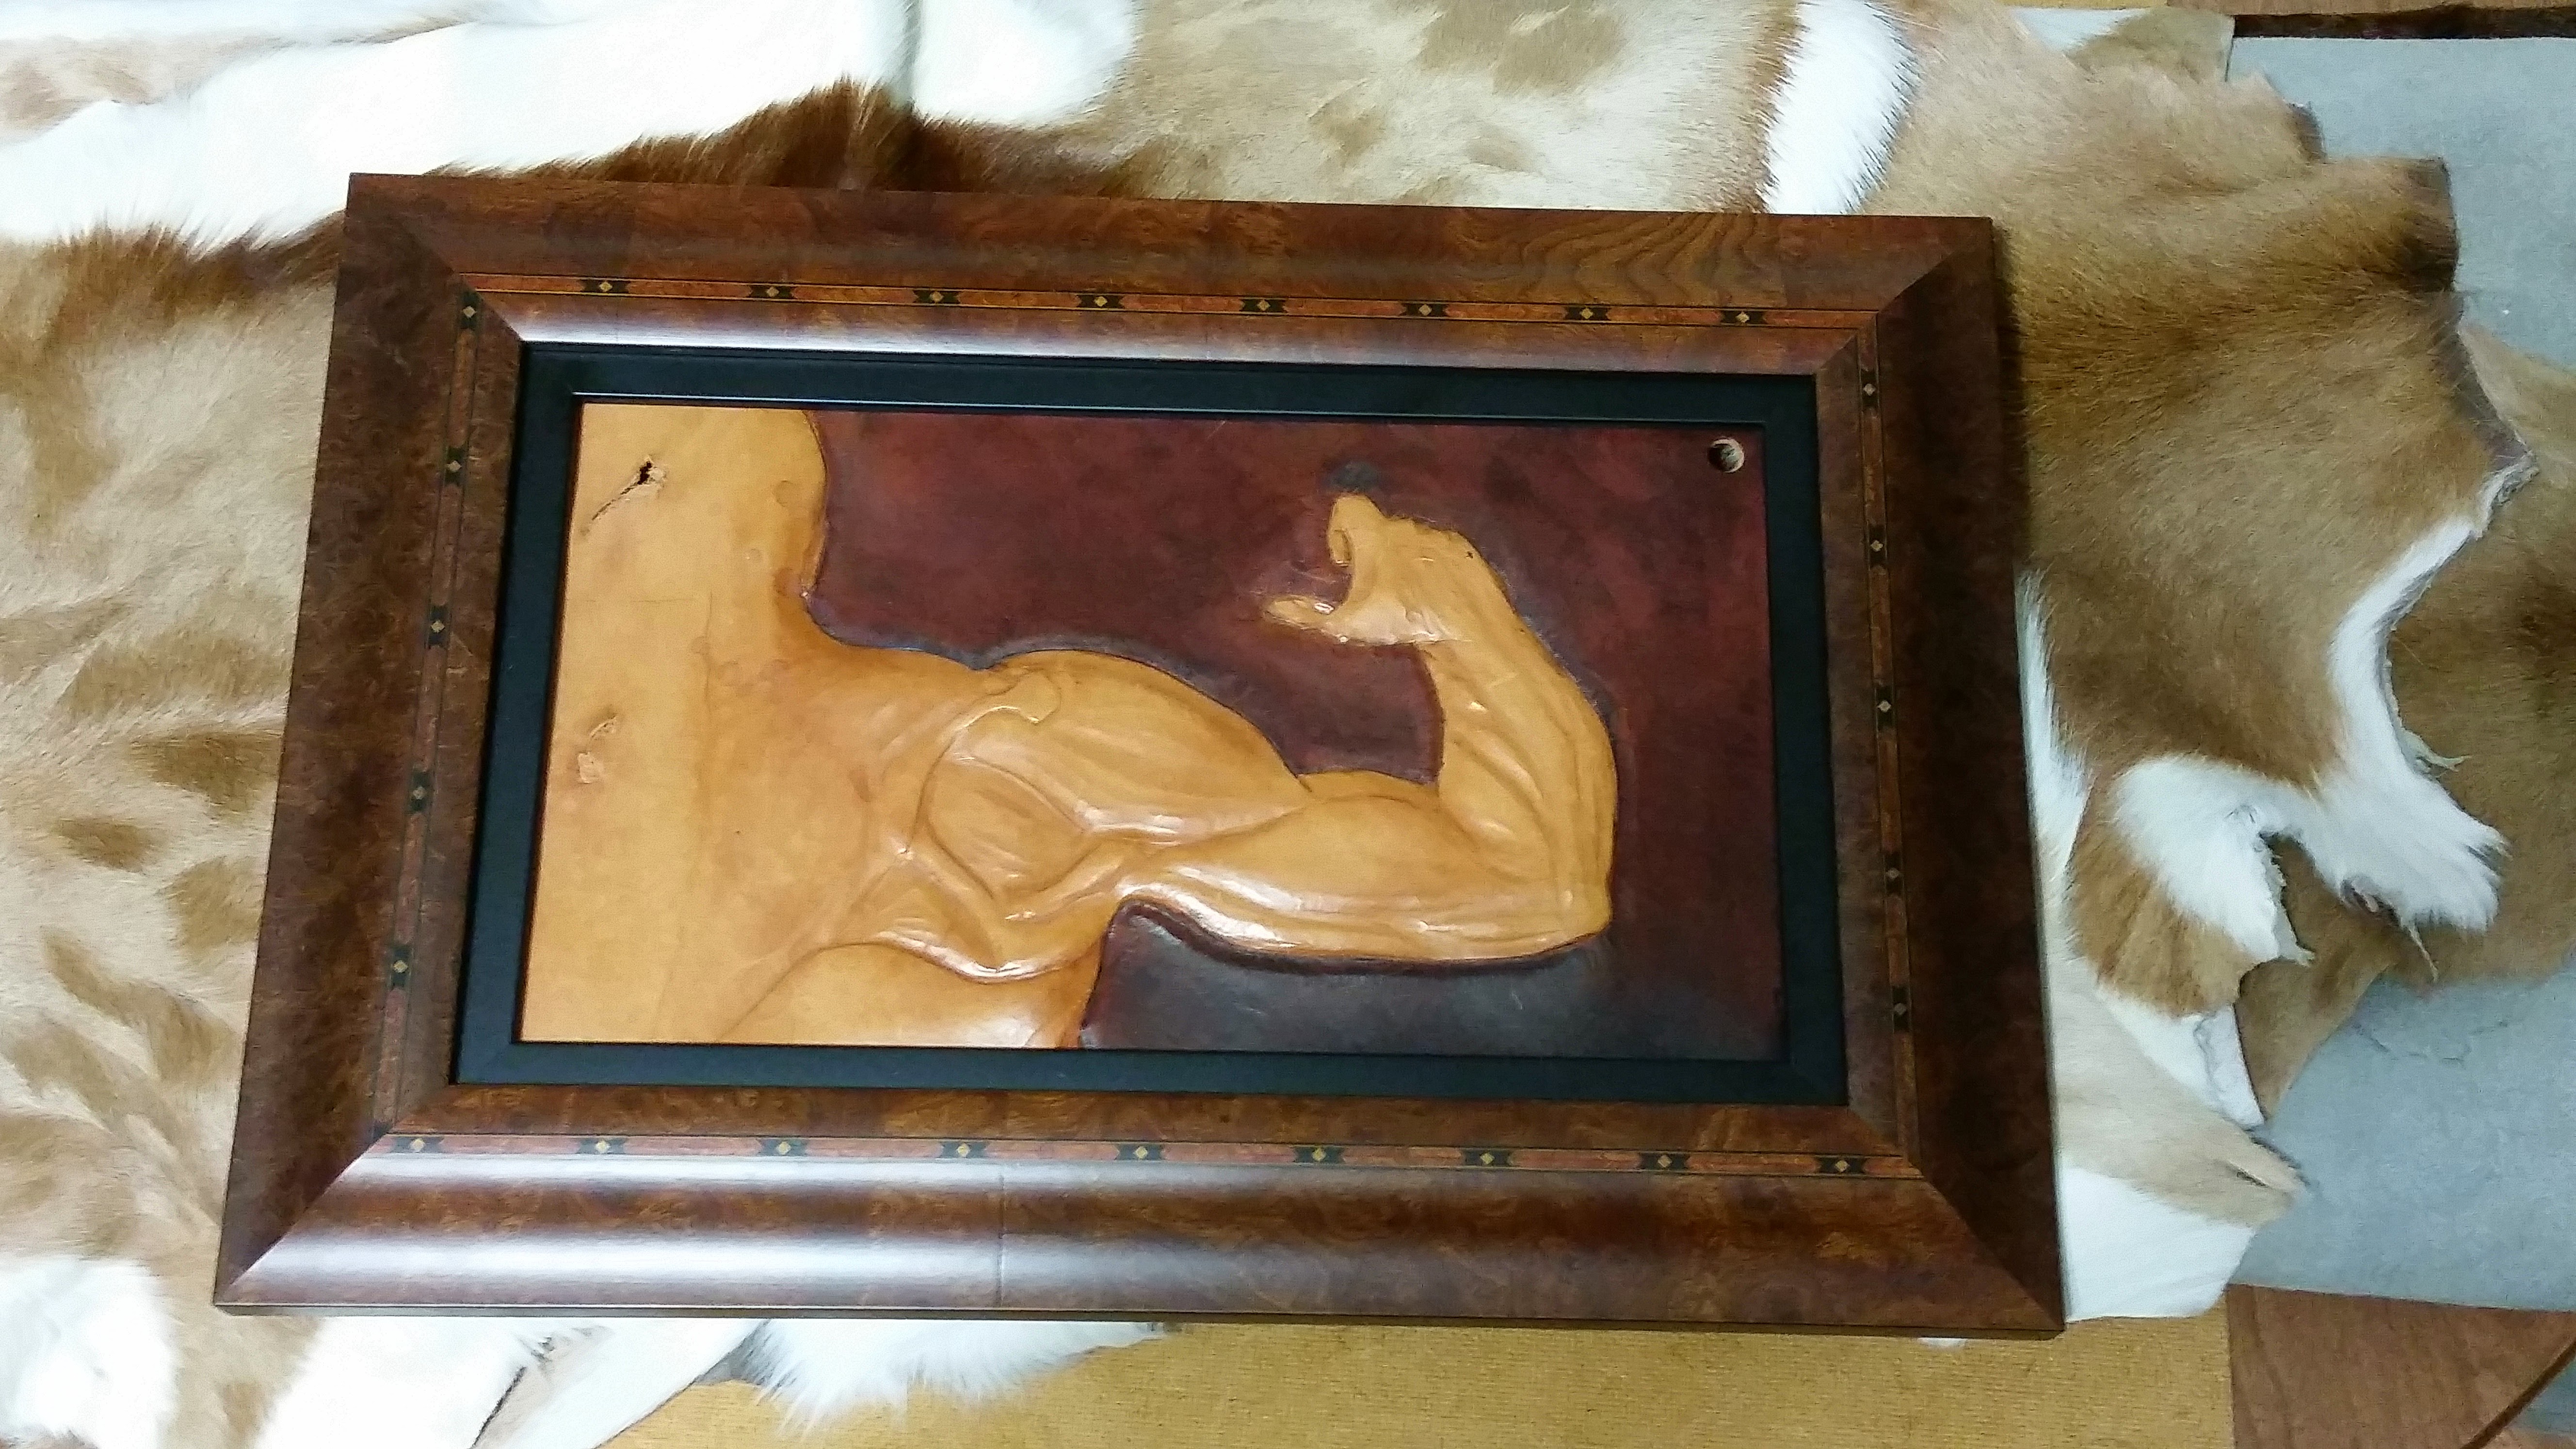
The person who framed the project for me, also insisted on framing the test piece, so that it could always accompany the big picture:


Saturday, March 15, 2008

Borders

The Use of the triangle figure carving beveler F910 stamp can be applied to a few other very effective borders!

This is a different description to do the rope edge effect also covered in another POST (with a video).


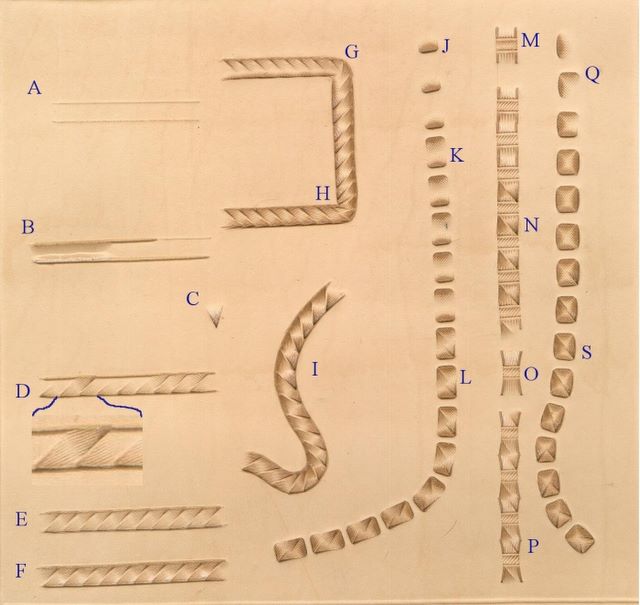
So referring to the photo:
 
First begin by scoring two parallel lines with a divider. #A
Now cut carefully on those lines with a swivel knife. #B You can optionally also bevel the inside of the lines with a smooth or a textured beveler, as you can see on the left of the #B part. Alternatively you can bevel the outside of the rope when you are done with the rope itself.
All these border designs use lined stamp F910. #C
Now stamp a row of these ‘triangles’ against one of the cut lines as you can see in #D (the bottom line was done first).
To do the second line, in the opposite direction, study the enlarged piece to see how the tool is now lined up: one side of the tool is first lined up with the cut line (as in the first row) and the other side of the tool is lined up with the impression against the opposite line so that there is a slight ridge between them.
To clarify further - in the enlargement there is one impression at the top and three running in the opposite direction against the bottom line - see how the one impression in the top line up with the middle of the three impressions at the bottom.
As I indicated earlier, you can optionally bevel the two parallel lines after you have cut them with the swivel knife and before you start the stamping. Illustration #E was done without any beveling and illustration #F was done over beveled lines.
The border can be used very successfully around 90ยบ corners. I like to use the dividers again to score the lines I am going to use. When I reach the corner, I let the inside leg stand still while the outer leg does the radius around the corner.
As you can see in illustration #G, the outside edge is stamped first and in the bend of the corner, I tilt the tool slightly forward so that it makes a smaller impression and so that it does not overstamp the edge. Then when I work on the inside line in the other direction, I keep to the same spacing I did on a straight line: every stamp corresponds to another on the outside line and is spaced so that there is a slight ridge between the two.
You will find that this causes the impressions to bunch up at the very corner so that all the sharp tips are almost on top of each other and this is OK!
Illustration #I shows the success of this border on curved lines. Again the outside edges are stamped first up to the point where the lines may curve in the opposite direction. There I stop with that side of the border and first do the other side, which will now become the outside edge of the curve as I proceed.
Throw a checkered beveler in the mix and you get a few more possibilities for borders:

 The first of these designs start with a row of evenly spaced impressions with a checkered beveler.  #J 
 Turn the leather around and make impressions with the same beveler in the other direction.  This will have the effect of a ribbon woven through the leather.  #K
 Add diagonally opposed impressions with F910, and it now looks is if the ribbon is twisted as it is woven through the leather. #L

 The second border design shows a line of basket weave stamps used end-to-end:  two different stamps are shown for this at #M  and  #O. 

Now add The F910 stamp again in diagonal fashion and you have a whole new border to play around with. #N and #P 

In the third line you make little squares with a checkered beveler - I first stamped a row of them next to each other. #Q  Then I add the top and bottom sides of the little square and lastly the fourth side of the little square opposite to  the first side. 

At #S you can see the added effect of using F910 in opposite corners and at #T you can see how it changes when you use F910 on two side-by-side corners.

I hope you enjoy playing with this!

[Updated 04/26/2020]

Wednesday, August 15, 2007

Fuzzies

Well, I mean the often fuzzy 'under' side, or flesh side, of veg tan leather......

There is some people who think that a smooth backside to the leather means a higher quality. A smooth back (flesh) side of leather is merely achieved in the tanneries when they split the hides to get them an even thickness.

However, often it is nice to have the back of your project nice and smooth, a belt, for example.

There are a few ways of doing this - here are the two methods I use most often.

If you use Eco-Flo Water Stain (the one in the square bottle) on a belt or project, use the stain on the back as well - it will slick down the flesh side beautifully and should not bleed off on clothes after you have sealed it with a finish. I have carried a piece of leather with this Pro Stain on both sides - no finish - in my pants pockets for a year and there was no bleeding at all.

Second method:

Get hold of Gum Tragacanth. You can apply that a little at a time and rub down the back of the leather with an old spoon. To smooth it down even more permanently, you can then cover the back of the leather with Super Sheen - an acrylic product that will effectively seal off the back of the leather.

Both these products are available at your local leather supply store or they should be able to order it for you.


Fuzzies

The belt piece before anything is done to it - you can see the typical loose fuzzies on the back.

Fuzzies


After the gum has dried on the leather you can see the difference between the covered part and the untreated part.

Fuzzies


This is a very upclose of the treated back side of the piece of belt.

This post from August 2007 has been updated. The gentleman in the videos is my long time friend and mentor, Larry Moskiewicz


Wednesday, July 18, 2007

Resist

USING RESIST

 I had this request: "I have been using block-out to keep my dye out of what I have stamped, but I can't get it to resist. Please help me with my leather resist problem."
[Block-out is unfortunately no longer available - the new water-based Neatlac is most definitely the best and even better than Block-out used to be]


Dyes and resist

My first answer would be that it could be that you are trying to use a spirit based dye over the resist and that will be less successful. 

On this scanned piece of leather I covered the bottom half of the leather with super sheen as a resist. On the very left I used antique gel on the leather - it wiped off nice and clean off the resist. 

 In the center I used Eco-Flo water based dye and although it did not wipe off the resist so very completely, the result is still successful. On the right I used a normal spirit based dye and the obvious result is awful. 


Now let us have a look at the intended use of a resist: 

Purpose: A resist is used before you use an antique stain to make sure the antique finish/stain does not change the color of the leather too much, but only gets into the tool impressions, so that it gives the antique effect. 

 Products: Several products can be used as a resist: Neatlac, SuperSheen, SatinSheen, Eco-Flow Top Coat, RTC. As you can see, all these products are also classified as finishes, i.e. they are also used as finishes on veg-tan leather after  (optional) dyes have been applied. 

 When to Resist: After tooling the project, you decide on a color for the project. This color change in the leather is achieved with dye. If you are also going to apply an antique stain to the project, and you do not want the antique gel / paste / liquid to change the overall color of the project, you need to apply a resist over the project first. 

Everyone recommends two layers of resist - and you must allow then to dry properly (I do overnight). The Effect: When you now apply the antique stain, and wipe it off with a soft damp cloth, the stain will only remain in the tool impressions and you will be able to wipe it off the smooth parts of the leather. 

You will have to seal in the antique stain by putting a layer of acrylic finish over the stain.

 Variations on Resist: You might choose to use the resist only on the tooled design and not on the background - a two tone effect. This will take some fancy brush work with a fine artist brush. 
It will mean that the antique stain will change the color of the leather on the unresisted areas, but on the tooled areas you will be able to wipe most of the stain off the leather. 

Preparing a test:
Using Resist - Before
This first photo shows some variations: From top left clockwise: 
1. The whole design and background was dyed with Eco-Flo Range Tan Dye and the left half of the quarter was resisted with Super Sheen. 
2. In the top right the design only was resisted with Block Out.

3. Bottom right the whole quarter was resisted with Block Out - both design and background.
 4. Bottom left the background was dyed brown with Eco-Flow Timber Brown and the design was resisted with Super Sheen.


And here is the result after applying the antique:
Using Resist - After
After the first photo, Antique Gel Medium Brown was applied as seen in the little Minimovies and this is a photo of the results. 

 Problems with Resist: Resist is not very successful to keep dye away from leather, especially the spirit based (alcohol based) dyes. These dyes will penetrate through most resists. 

 Here is how to have some fun with basketweave stamping and resisting a highlite stain:  
 (Updated 21 October 2019)

Sunday, July 15, 2007

Uneven dyeing


Dying certain areas only can be even more eye-catching if the dying is done in such a way that the area is darker around the edge and lighter in the center. 

Use of All-in-One

This photo shows the project with the dye completely dry - you will notice it is lighter than what it was in the little mini-movie. This project is done with a very old piece of leather - at least thirty years old - it is an old tri-leg chair kit. The leather is already darkened by oxidation, so I chose darker colors to color with. 

 The dye is the new Eco-Flo Cranberry Red dye. It is water-based. 
 I start off with diluting the dye a lot with water and I just cover the whole area with a thin color. 
 Then I use less diluted dye and only work around the edges, so that the area is dyed darker around the edge and lighter in the center. 
REMEMBER: The dye causes the leather to be WET and therefor darker, so it is not immediately clear what the project will look like when the leather dries out. The dye will get lighter as it dries. 
 This little video shows the final step with undiluted dye.


Use of mahogany
This photo shows a similar effect with Eco-Flo dark mahogany. Here the dye, and leather, is still wet and it does not look as though the transition from dark to light is going to be gradual enough. I will have to judge that only when the dye is completely dry.

X1 Applied
The completed seat after I applied a coat of X1 dressing (the old Drake's Dressing - now being sold by Realeather as One Step Leather Dressing). 
 The dye came out the way I wanted it, and I then applied X1 dressing to bring out the tooling in sharp definition. X1 only accentuates the tooling in a very non-obtrusive way.

Completed seatCompleted seat

The chair complete.

If you want to know where to get the legs, contact Dan at Logo's Leather: Logo's Leather 

In the next technique Tom Evans uses a rag to "dry brush" alcohol based dye to give a two tone effect.


 (Updated 22 October 2019)